Well, I wasn’t entirely sure about posting this recipe since Edwin had just posted an asparagus and pasta dish earlier in the week, but then I thought, “DinnerCakes face-off?”
Of course I didn’t consult Edwin about this, so perhaps later today we’ll have a DinnerCakes rumble. Maybe all the Ghost Baker recipes will suddenly disappear! Maybe my photo over in the right sidebar will be replaced with a Lolcat! Actually the Lolcat thing would be sort of awesome.
In any event, a few short weeks ago my good friend’s boyfriend was in town on business. My husband and I went to dinner with him and his co-worker at Clyde’s in Georgetown. The wait was a lot longer than what they originally said and the food didn’t knock our socks off, but I liked the idea behind my dish – I ordered mini ravioli with spinach and asparagus.

As you know, I have to take any opportunity that tricks me into eating more vegetables than I normally might, so I decided to adapt this dish at home. In addition to spinach and asparagus, I also threw in some peas. The ravioli has just enough cheese so that I’m slightly less aware of the massive amount of veggies present. I also found that I could get away with using only the tiniest amount of cream sauce, just enough to keep the ravioli moist and the veggies flavorful.
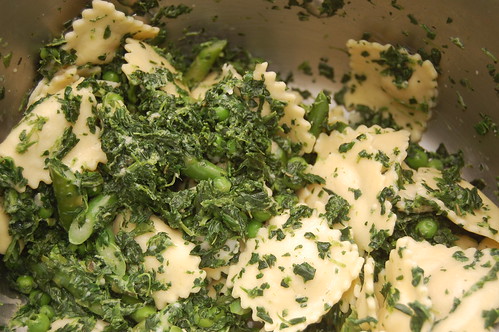
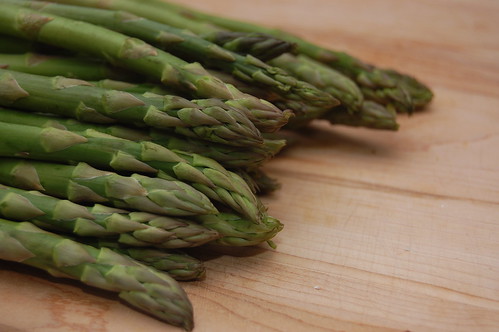
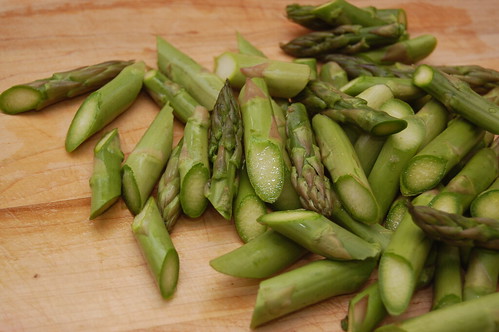
I really enjoyed this! I’ve had instances in the past where asparagus doesn’t cook quite right, but for this dish I decided to steam them and they were perfect! The cream sauce is really barely noticeable; this is not one of those dishes you get at a restaurant where you have to wade through the sauce to find noodles. *If you’re not a big fan of garlic you may want to use one clove instead of two, as the sauce does have a more noticeable garlic flavor (which I like).

I’d have to say that any dinner that results in me happily eating THREE different kinds of vegetables is a success! It also received the seal of approval from my husband.
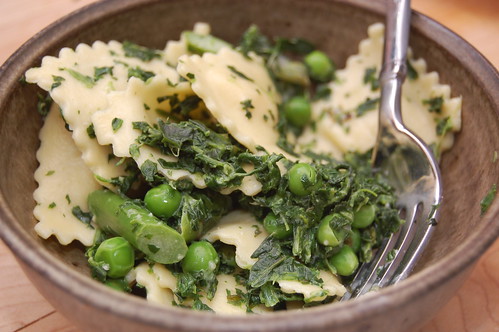
Ravioli with Asparagus, Spinach and Peas
1 package of light four cheese ravioli (9 oz.)
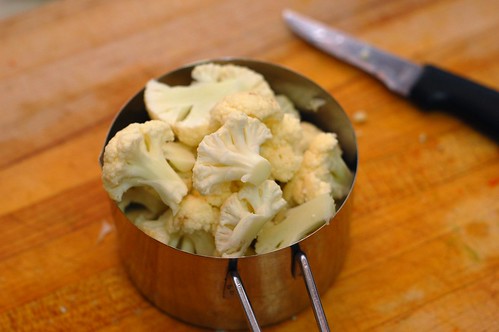
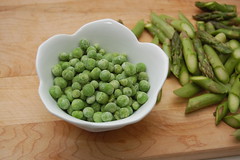
13 asparagus, cut diagonally into 1 inch pieces
3/4 cup frozen peas
1 package frozen chopped spinach (10 oz.)
2 cloves garlic*
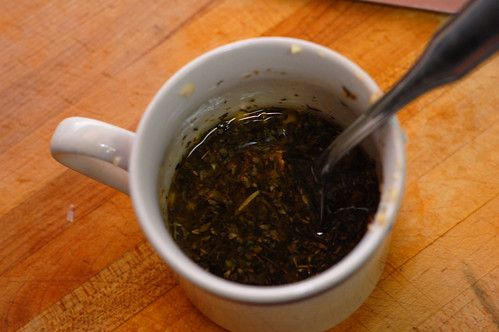
1/4 cup cream
salt and pepper, to taste
dash onion powder
dash marjoram
1 teaspoon parsley flakes
1 tablespoon shredded parmesan cheese
This dish isn’t time consuming, but it does take a little maneuvering to cook each item separately. You may want to frequently check your vegetables while they’re cooking to make sure you get your desired consistency.
Cook spinach according to package instructions. While spinach is cooking, slice your asparagus and get your other ingredients ready. When spinach is done, drain and set aside. Boil ravioli according to package instructions; steam cut asparagus in a colander (covered) while pasta cooks.
While pasta is cooking, combine cream, garlic, salt and pepper, onion powder, marjoram, parsley flakes and shredded parmesan in a small sauce pan. Stir frequently to prevent a film from forming over the cream sauce. The peas should only take a short amount of time to cook – so start peas when pasta is about halfway cooked. When the peas are done, combine them with the spinach. The asparagus will likely finish steaming just a minute or two before the pasta is done. When done, remove asparagus from colander and combine with spinach and peas.
Drain ravioli when cooked. Return to pot and toss with a glug of extra virgin olive oil. Gently add in the spinach, asparagus and peas, then pour hot cream sauce over pasta and vegetables. Toss just once or twice to incorporate the cream sauce.
This recipe yields enough for two people to have seconds.