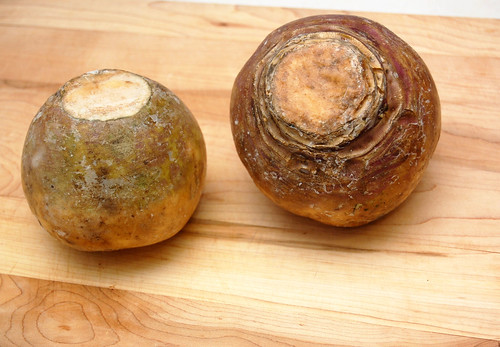
Two dinner posts in one week instead of dessert? This is Ghost Baker blasphemy! And I picked rutabaga to work with; such a bizarre looking vegetable. Maybe hitting our 100th DinnerCakes post this week has made me loopy.
Don’t worry, I’ve just been cooking a lot lately and trying new things… and thankfully they seem to be working out well! Weight loss and weekly baking weren’t really fitting together, though I believe Chef Edwin got a good laugh at my dreams of a pound cake diet (which he sarcastically termed my “pound diet”).
My mother-in-law got me a subscription to Food Network Magazine for Christmas which I have already toyed with before here. This was a really cool gift because now I get great, seasonal recipes delivered directly to my door (er, mail slot). Today’s recipe was inspired by the Nov/Dec 2008 issue featuring some fancy potato recipes.
The original recipe called for a few things that I thought were a little unnecessary for my purposes (a weeknight side dish). And my husband quickly vetoed my quest for fresh parsley and scallions in the grocery store stating incredulously, “Who has ever eaten something and said it needs more scallions!?”
So here we are! I took out some of the “fluff,” used basic Russet potatoes instead of Yukon Gold and added broccoli. This recipe makes a shallow baking dish full of mashed potatoes and rutabaga. We had enough leftover for a full week of dinners and/or lunches… quite a bit, really. But I surprisingly never got tired of it! This dish really is a nice surprise. I’d only had rutabaga once before at Thanksgiving 2008. I thought it had a very distinct, almost bitter taste that didn’t agree with me, but combining it with potatoes makes it much more mild and very enjoyable.
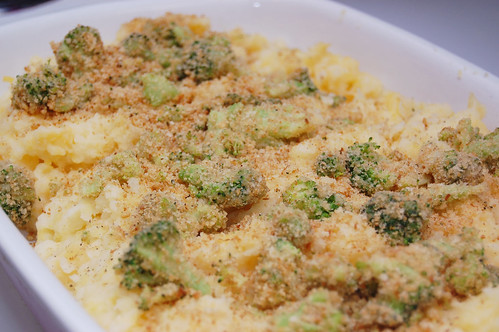
Mashed Potatoes and Rutabaga
adapted from Food Network Magazine
1 pound rutabaga (yellow turnip), peeled and cut into 1-inch pieces
1 pound Russet potatoes, peeled and quartered
3 tablespoons unsalted butter, room temperature
3 tablespoons margarine, room temperature (I did half regular butter and half margarine in an attempt to reduce the fat content, but you certainly don’t have to)
3/4 cup half and half, warmed
salt, to taste (I used coarse Kosher salt)
1/2 tablespoon oil (I used Smart Balance oil)
2 cups broccoli florets, chopped
3/4 cups plain breadcrumbs
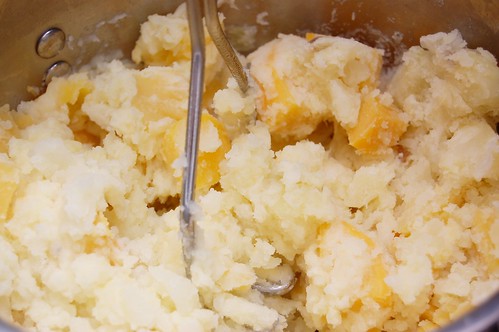
In a large pot, cover cut rutabaga and potatoes with cold, salted water and bring to a boil on medium heat. Once the water begins to boil, reduce to a simmer until the vegetables are tender (they should hold there form, but there should be little resistance when pierced with a fork). This will take approximately 30 minutes.
Drain the water and turn the heat down to low. Stir in 3 tablespoons of the butter (not the margarine) and mash (I used a potato masher) until smooth (I like to leave just a few potato chunks in mine, but I know everyone has there own preference!). Add the warm half and half and salt. Keep warm on low setting.
Meanwhile, melt the remaining 3 tablespoons of margarine with the oil in a skillet on medium. Add the breadcrumbs and broccoli and cook until broccoli is tender, stirring so that the breadcrumbs don’t burn.
Pour the potato mixture into a shallow baking or casserole dish. Sprinkle potatoes with the breadcrumb/broccoli mixture and serve.
Note – after discussing this dish with Edwin, we think mashed cauliflower might also be good in here, possibly as a substitute to the Russet potatoes. Let us know if you try it out!