
I remember when I worked in an office and cake or cupcakes were brought in for a birthday… in the crowd there were always a few frosting people.
Frosting people only go for the frosting, sometimes only eating the cake part that actually touches the frosting or no cake at all. In either case they’re easily identified by leaving a pile of untouched cake left on their plate. I’ve never understood these people and certainly have never been one.
The frosting has almost always been my least favorite part of any cake.. homemade, store-bought, wherever. I’ve made buttercreams, whipped and meringue frostings myself, but none of them were really outstanding. Many times I make cake without frosting at all, just adding some powdered sugar or Cool Whip. Remember my Kitchen Tips post on Broken Buttercreams? Yeah.. I was no stranger to broken buttercreams either.
Then a few weeks ago my Sur La Table The Art and Soul of Baking cookbook hit another home run (seriously, guys.. please buy this book?). The winner this week is White Chocolate-Cream Cheese Frosting. Yes.
I first made it to go with Devil’s Food Cupcakes for a friends birthday. I found myself going for the bowl of leftover frosting in the fridge in the middle of the night (please tell me I’m not alone here?). For weeks after that I tried to find a cake to make that would really compliment the frosting (the Devil’s Food Cupcakes were a little too dense). My plan was to make a Guinness Cake with White Chocolate-Cream Cheese Frosting mimicking the head on a Guinness beer. My cake failed.
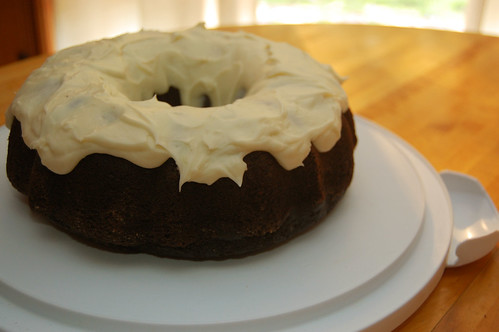
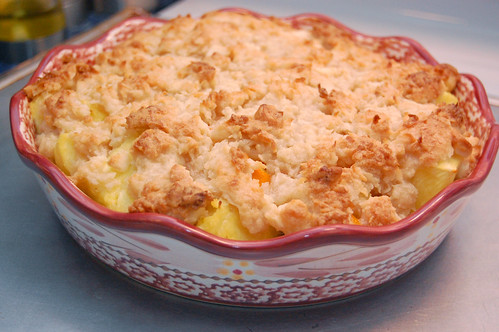
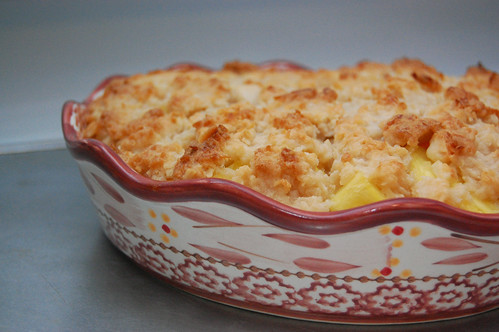
Last week though I paired it with Cookie Madness’ Really Good Chocolate Bundt Cake. Like the title says, the cake is really good! I’ve made it twice before and it’s always perfectly moist with a light crumb. I love adding coffee to chocolate cake because it really helps the cake actually taste like chocolate instead of flour (I’m not typically a big fan of chocolate cake.. they’re just not chocolatey!). This bundt and a drizzle of white chocolate frosting are a beautiful match. Please try it, and save some frosting for me.
adapted from The Art and Soul of Baking
makes enough to drizzle over one 10 inch bundt
6 ounces cream cheese, at room temperature (I used low-fat with fine results)
3/4 stick unsalted butter, at room temperature
1/2 teaspoon lemon extract
1 cup confectioners’ sugar
3/4 teaspoon real vanilla extract
4 ounces white chocolate (I use white chocolate chips, I can’t stand the taste of melting chocolate)
Consider rereading my Kitchen Tips post on Broken Buttercreams – using room temperature cream cheese and butter is pivotal to avoid broken frosting.
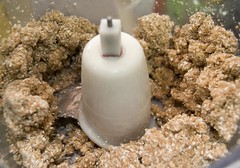
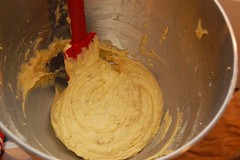
Blend cream cheese, butter and lemon extract on medium/low speed in the bowl of a stand mixer (or use a hand mixer, but increase the blend time a little) for 1 minute. Scrape down the bowl and beat again for a few seconds. Sift in confectioners’ sugar and blend on low for a few seconds. Scrape down the bowl again and add vanilla. Beat on medium speed for 1 minute.
Melt white chocolate (see our tips for melting chocolate), and cool for a few minutes. Stir white chocolate then add to the cream cheese mixture. Beat thoroughly.
Use immediately, or, frosting can be made up to 3 days in advance if kept refrigerated in an airtight container. To soften, allow it to sit out to room temperature for 30 minutes.


