Chicken & Roasted Red Pepper Pizza

Hello, readers!

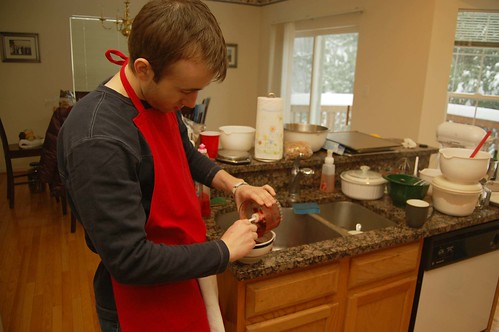
Yes, I was absent last week… and I didn’t even have the courtesy to say why, did I? You see, I was on a top secret mission to California! My husband (this dude) was on Jeopardy! It has been pretty much a lifelong goal of his to be on the show.
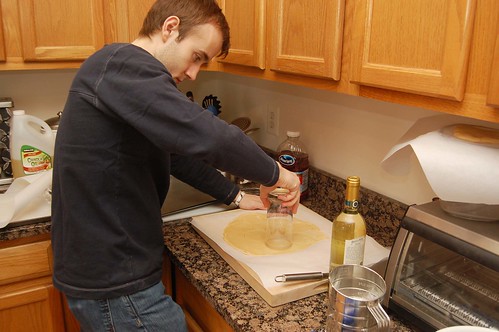
roastingredpepperDSC_0097

And now I’m on another top secret mission – I can’t reveal anything about what happened on the show! It hard… very hard… but I can tell you to watch Jeopardy on Thursday, April 8! I know it’s far away; it will be a long wait for us too, but you don’t want to miss the show!
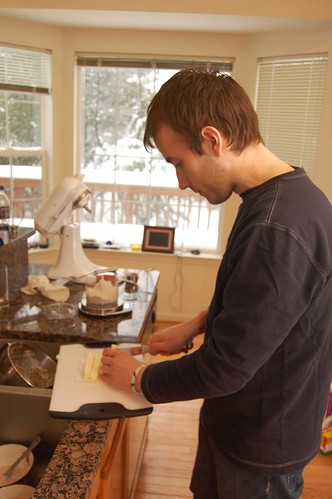
peeling

Since returning from California I’m trying very hard to get back into the graduate school + DinnerCakes mindset. I often find myself daydreaming back to our time at Sony Studios and listening to Alex Trebek answer questions from the audience by going off on humorous rants (did I mention he’s also very polished in real life?).
cheeseDSC_0107

Ok, ok.. I’ll try not to talk about it constantly. Let’s talk about this pizza.
DSC_0108

Today’s pizza is probably the best one that we have made. The toppings work together flawlessly. I even took a page out of Chef Edwin’s book for the roasted red peppers. I had actually never roasted them before, but it’s definitely the way to go here.

DSC_0109

There are a few steps to get all the toppings reading, but this pizza really comes together wonderfully. Enjoy!

DSC_0112

Chicken & Roasted Red Pepper Pizza

1 boneless skinless chicken breast, cooked this way and sliced
1/2 cup frozen spinach, cooked according to package instructions
1 red bell pepper
freshly grated mozzarella cheese for sprinkling
1 ball of pizza dough from a local bakery or Italian store
1 batch of Mom’s marinara sauce
1 tablespoon olive oil
flour, to sprinkle on work surface

Preheat oven to 525 F. Flour a cookie sheet and roll out dough to a 16 inch circle. Drizzle olive oil over the dough.

For the roasted red pepper, here’s what Edwin instructed me to do:

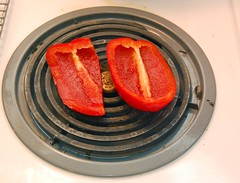
1) Cut the pepper in half longways, starting at the stem.
2) Put the pepper pieces directly on your burner, turning it as it blackens.
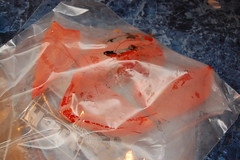
3) After it’s done, put the pieces in a gallon ziploc bag until it cools enough to handle.
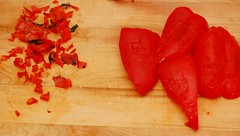
4) When they’ve cooled, pull off the blackened skin using your fingers. Edwin adds, “If you have a hard time getting some skin off, just do what you can without destroying it and make a note of it for next time.” (Some other questions I had that he answered for me: No, the ziploc bag won’t melt when you put the peppers inside and no, don’t eat the black stuff).

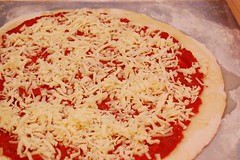
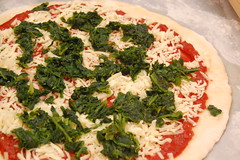
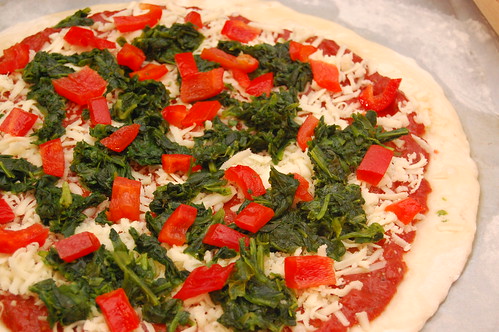
Pour sauce over dough, then add cheese, cooked and drained spinach, roasted red peppers and sliced chicken.

Transfer cookie sheet to oven and cook for approximately 11 minutes (we use a pizza stone, so we preheat the oven with the pizza stone in the oven, then carefully transfer the uncooked pizza to the heated stone. It takes two of us to transfer the pizza without letting it fall apart, so proceed with caution if you go this route).

Let pizza cool for 2-3 minutes. Slice and serve!

Something to Think About…

From a July 9, 2008 article, Quest for the Perfect Chocolate Chip Cookie, in the New York Times:

Why, then, does almost everybody say they prefer homemade to bakery bought?

Mr. Rubin smiled, having already figured out the answer. “It’s the Warm Rule,” he said. “Even a bad cookie straight from the oven has its appeal.”

made you a cookie

Slow Cooker Week – Day 5, Pear-Nut Upside-Down Cake

I was not raised with a need for fancy desserts – Pillsbury funfetti cake, ice cream cakes for birthdays and Eggo waffles layered with Neapolitan ice cream at my grandmother’s house were among my favorites. So the idea of making a cake in a slower cooker sounds just fine to me!

DSC_0192
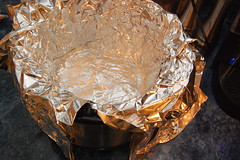
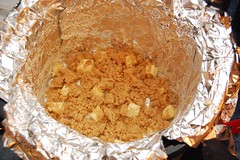
line with foil and butterlinebottomwithbutterandsugar

However a quick search of slow cooker or Crock pot cake yields results called something like “dump cake” or “chocolate mess cake.” Though I imagine these cakes to be much like my idea of heaven – a pot full of warm, gooey, fudge-like cake to completely make a mess of myself with – that’s probably not what you guys come here for.

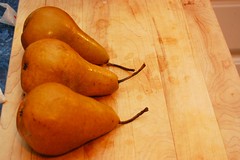
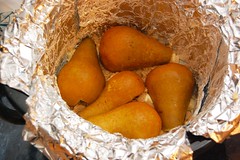
boscpearsaddpears

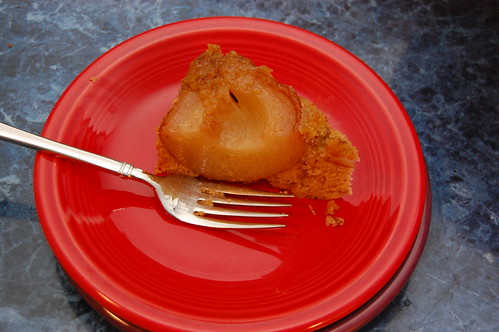
A pulled a recipe out of my November Food Network Magazine for Pear-Pecan Upside-Down Cake. I had my reservations about it, but it mostly turned out well!

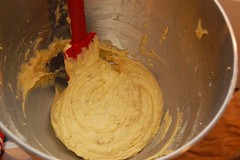
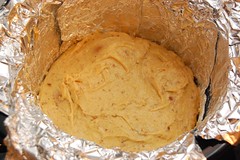
mixbattersmoothoverpears

This would be an excellent cake for a weekend brunch, served with coffee. It’s unfortunately not the most attractive cake, so I’m not sure I’d bring it out on a serving platter to show my friends… just bringing the plated slices out of the kitchen will work! Some quirks about the cake:

  • I couldn’t fit the 3 Bosc pears it calls for in the bottom, I could only fit 2 and a sliver. I thought I had a 5 quart slow cooker, so maybe the pears used in this recipe were abnormally small?
  • One of the sides got a little darker than the other. I wonder if this might have anything to do with me opening the lid a crack to peek in and somehow throwing off the cook temperature. It’s possible! So do not peek! Ever!
  • You’ve got to like pears. This cake is like sweetened pears with a side of cake.
  • Make sure you cool the cake for an extra 10 minutes after removing it from the slower cooker, before turning it on to a platter.
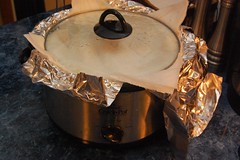
  • linetopwithpapertowelscake

    I did not make many changes to the original recipe. I didn’t use whole milk at room temperature, I used skim milk that was still cold. I didn’t toast the pecans first, and I combined pecans with some cashews. When picking out your Bosc pears, try to get pears on the small side; large pears tend to take over the cake. Again, though it’s not the most aesthetically pleasing cake ever created, it’s really a very tasty and light breakfast cake.

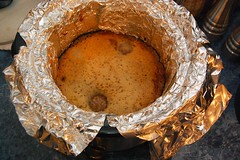
    upsidedown

    Pear Upside-Down Cake
    from Food Network Magazine

    8 tablespoons unsalted butter, 1 tablespoon for greasing; 3 tablespoons cut into small pieces, 4 tablespoons softened
    1/2 cup firmly packed light brown sugar
    3 small Bosc pears, peeled, halved lengthwise and cored
    3/4 cup all-purpose flour
    1/3 cup nuts, finely chopped (I combined pecans and cashews)
    1/4 cup cornmeal
    3/4 teaspoon baking powder
    1/2 teaspoon ground cinnamon
    1/4 teaspoon freshly grated nutmeg
    1/4 teaspoon salt
    2/3 cup granulated sugar
    2 large eggs, at room temperature
    2 tablespoons milk

    Butter the inside of a 5-quart round slow cooker and line it completely with a large sheet of foil, butter the foil as well. Turn the cooker on low and sprinkle the cut-up butter and the brown sugar over the foil. Add pears, arranging them in a circle, cut-side down.

    Mix flour, nuts, cornmeal, baking powder, cinnamon, nutmeg and salt in a large bowl. In the large bowl of a mixer, beat the softened butter and granulated sugar on low until just blended. Increase the speed to high and beat until light and fluffy, scraping the sides as needed (3-5 minutes). Beat in the eggs, one at a time.

    With the mixer on low, alternate beating the dry ingredients and milk into the butter mixture in two batches, beginning and ending with the dry ingredients. Mix on medium just until smooth. Spread over pears. Drape paper towels over the top of the slow cooker (just under the lid, not touching the cake) to prevent condensation from dripping onto it (do NOT peek once cooking starts!). Cover and cook on low about 3 hours, when cake sets and the sides brown. Turn off the cooker and let the cake rest about 20 minutes.

    Lift the cake by the foil and place on a rack to cool for about 10 minutes. Carefully invert onto a platter and peel off the foil.

    So let’s talk a little about slow cookers first. If you’re new to slow cookers and this theme week is baffling you so far – slow cookers are electrical appliances built to cook food at a relatively low temperature over a longer period of time. A good machine will have a ceramic cooking pot that fits into the metal, electric part and can be removed for easy cleaning and at least a low and high temperature setting. Slow cookers are NOT pressure cookers, which cooks food in a sealed device.

    withcheese

    Why use slow cookers?

  • It’s easy! You can throw some vegetables, uncooked meat and spices in the pot before work, and come home after work with a well-seasoned, fully-cooked meal.
  • No pots and pans to clean! When you’re cooking everything together in the slower cooker, there’s not as much clean up.
  • Such long simmering times can increase the flavor.*
  • blackbeansaddseasoning

    So why don’t we use slow cookers all the time?!

  • *Such long cooking times, while it generally won’t overcook your meats, can cause your vegetables to have their good nutrients cooked out of them.
  • The slow cooker is not great with all types of meats. Fish, for example, doesn’t do well in the slow cooker.
  • Mush – if left too long, some vegetables or meats can turn to mush
  • combinesalsamixsalsa

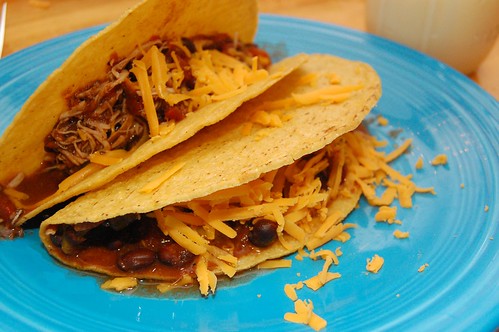
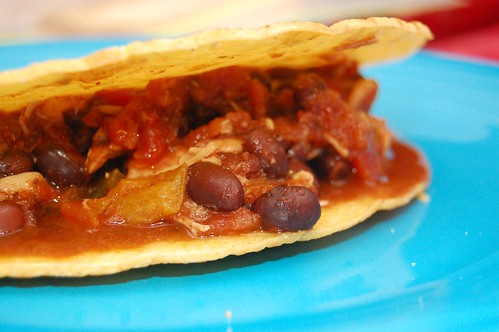
    But at the end of the day, slow cookers can really be a blessing. The recipe I’m sharing today, in fact, turned out pretty awesome, and I’m not really sure how I ever made chicken tacos before without the slow cooker.

    spoonoverchicken

    I love chicken. You may have noticed from the plethora of chicken recipes here on DC! Cooking it in the slow cooker creates the perfect consistency for tacos – the meat shreds effortlessly and it really picks up the flavor of the seasonings. Dry, rubbery chicken is a common problem with cooking chicken; the slow cooker is an easy fix!

    spoonintotacos

    Shredded Chicken Tacos with Homemade Salsa
    adapted from The Pioneer Woman

    2 boneless, skinless chicken breasts
    15 oz can of black beans
    grated cheddar for sprinkling on finished tacos
    optional – shredded lettuce, sour cream

    for the salsa:
    2 fresh jalapenos, diced (remove seeds for less heat!)
    1 clove garlic, minced
    1 yellow bell pepper, diced
    2 15 oz cans Ro*tel tomatoes (I used Mild – Diced Tomatoes and Green Chiles)
    salt, black pepper, garlic powder to taste

    for the seasoning:
    chili powder, paprika, onion powder, salt, garlic powder, cumin, oregano, cayenne, black pepper

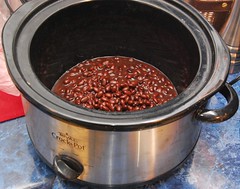
    Added canned black beans, undrained, to the bottom of the slow cooker. Combine seasoning ingredients in a small bowl (I was heavy on the chili powder, paprika, and black pepper; then gave about 5 shakes of cumin; and 3 shakes of onion powder, garlic powder, salt, oregano and cayenne). Sprinkle seasoning over the black beans, then set the chicken breasts on top.

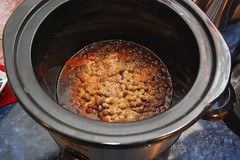
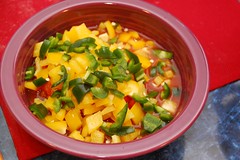
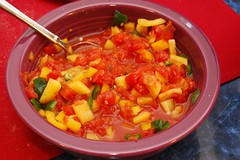
    Combine salsa ingredients in a bowl and stir to combine. Spoon salsa over chicken breasts.

    Cover and set to low for about 6-8 hours (my cooker runs a little hot, so my cook time was 6 hours). Makes enough for about 3 people.

    Biscuit Enjoys the Smells of Slow Cooker Week

    Biscuit realized he hadn’t said “hello” in a while, and this bothered him cause he’s a friendly guy!

    Biscuit - 5 months old

    5 months and 38 pounds of adorable, mischievous puppy.

    Slow Cooker Week – Day 1, Sweet Potato & Beef Stew

    It’s time for another theme week at DinnerCakes! From time to time we like to devote a week to a particular style or genre of cooking, a holiday or anything really that strikes our fancy. Past theme weeks include Rainbow Week, Halloween Week and Smoothie Week. Welcome to Slow Cooker (ie Crockpot) week!

    DSC_0004

    When I say slow cooker, do visions of fatty, salty stews pop into your head? Slow cooker meals can be unhealthy when all you’re doing is opening a bunch of canned food into the pot and letting it simmer. Canned food contains a great deal of sodium, which is great to keep it fresher in the can… but not so great for your heart, blood pressure, etc.

    DSC_0005DSC_0009

    So the trick is to use fresh ingredients when possible (watch the canned food), add spices and seasonings liberally (but create your own flavors instead of relying on flavor packets and premade seasonings) and get creative!
    onionsDSC_0014

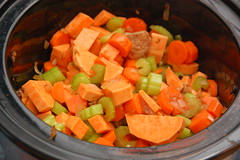
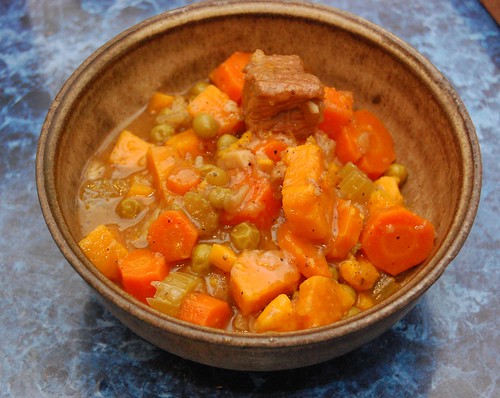
    I’m starting out the week with the cliched beef stew, but I jazzed it up a little bit. Instead of adding russet potatoes, I used two sweet potatoes that I had in the kitchen, emphasizing the savory and sweet flavors of a stew. I also relied more on veggies than beef, using only a handful of leftover cubed beef that I had from my fondue experiment. Lastly, I didn’t measure any seasonings that I added to the pot. I’m sorry, Julia Childs, but slow cooker meals simmer for hours in the added spices, and I think trying to be too precise about measuring it would lead to a bland stew. Trust your own hand!

    DSC_0016DSC_0017

    Though I was grumbling while preparing the ingredients in the morning, it’s so nice to be able to just walk over to the slow cooker and spoon out dinner in the evening!

    beefstew

    Savory Beef & Sweet Potato Stew

    Approx. one pound of beef stew meat, cubed
    Approx. 1/2 cup flour (for dusting the beef)
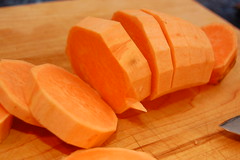
    2 medium sweet potatoes, scrubbed, peeled and diced
    Approx. 5 whole carrots, peeled and diced
    Approx. 4 whole celery hearts, diced
    1 medium onion, roughly chopped
    1 cup frozen peas
    2 cloves garlic, minced
    1 teaspoon Worcestershire sauce
    32 oz. low sodium beef broth
    salt, pepper, onion powder, garlic powder (for sprinkling on beef)
    salt, pepper, onion powder, garlic powder, celery seed, paprika, thyme (to taste)

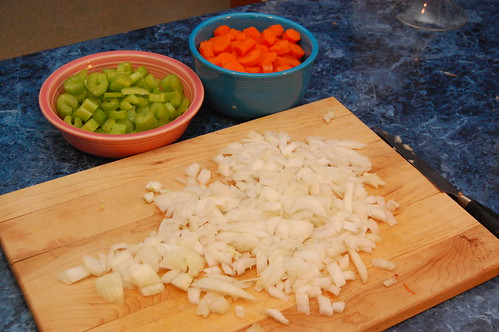
    In the morning, prepare ingredients – season beef, cut carrots, celery, onion, potatoes, etc. Add vegetables to the bottom of the slow cooker.

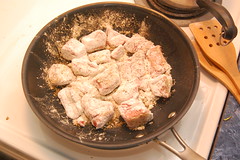
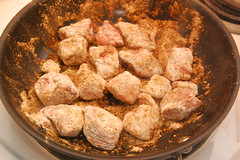
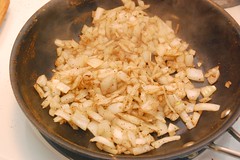
    Dredge beef cubes in flour. Heat a skillet on medium heat. Add cooking spray or a small amount of oil and lightly brown beef, then add to slow cooker. Add a small amount of beef broth to the pan and add onions. Saute until lightly browned, then add onions and deglazed beef broth to the slow cooker. Add all remaining ingredients and beef broth to the slow cooker. Toss to combine ingredients and spices.

    Cook on low approximately 6-8 hours. If stew needs additional thickening, add more flour or cornstarch and stir. If this is the first time you’ve used your crock pot, try to monitor the cook time as cookers vary in temperature (mine tends to be on the hot side).

    Assembling a Trifle

    My eyes aren’t fully undilated, so please forgive any typos or bizarre things contained within this post. I feel fairly cross-eyed!

    So the other day I was thinking about things I could make for dessert that aren’t so heavy. I came back to my old favorite, the red, white and blueberry trifle. However I realized after looking through this post that I was rather vague with the assembly. So why don’t we walk through that a little better?

    cool the pound cake

    First bake and cool a delicious vanilla pound cake. My favorite for trifles remains the Double Vanilla Pound Cake from The Art & Soul of Baking.

    setting up

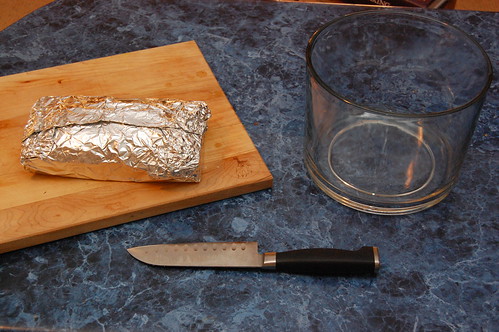
    I let my pound cake cool, wrapped it in foil and let it sit overnight so that it wouldn’t crumble when putting together the trifle.

    trim hard edges

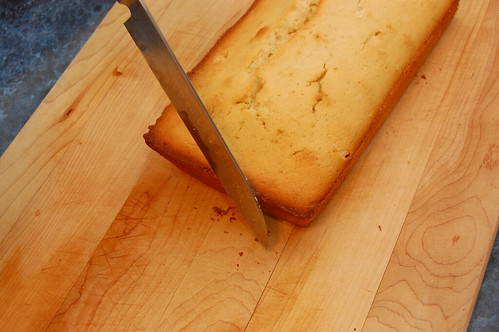
    Next, gently trim away any crusty edges.

    1/2 slices

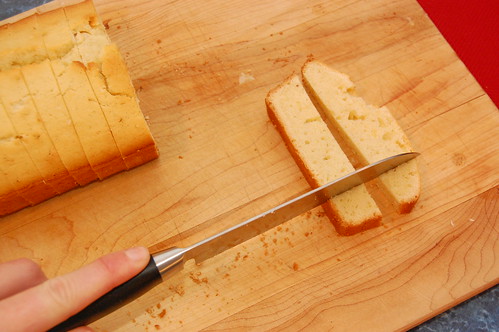
    Cut the pound cake to one inch slices.

    1/2 slices2

    And I like to eat the end pieces…

    cut in half

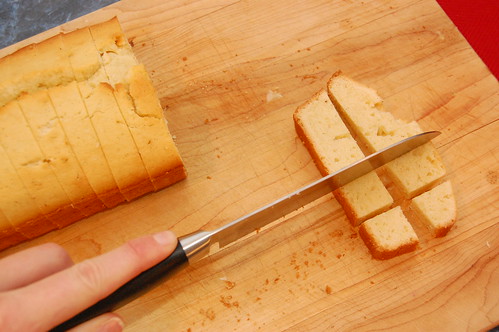
    Cut each slice in half long ways.

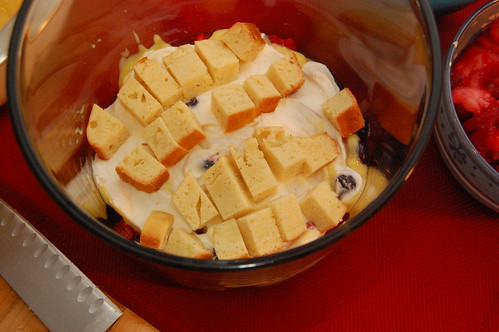
    half inch cubes

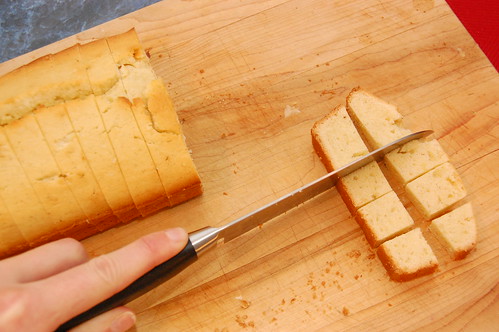
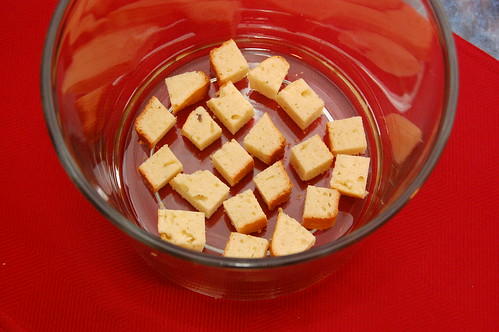
    Then cube it.

    half inch cubes2

    We’re going for 1/2 inch to 1 inch cubes.

    1/2 inch cubes3

    You could also cut two slices at once to save time if you wanted.

    first pound cake layer

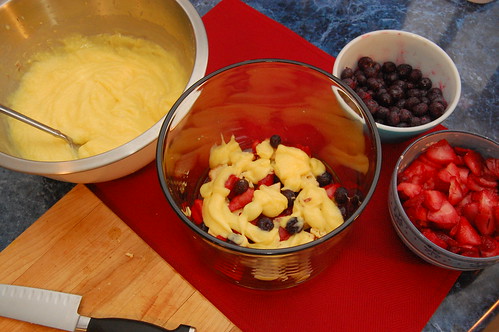
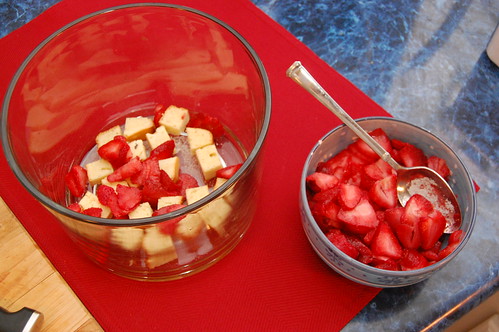
    Arrange your first layer at the bottom of the trifle bowl. Use about two slices of pound cake in each layer.

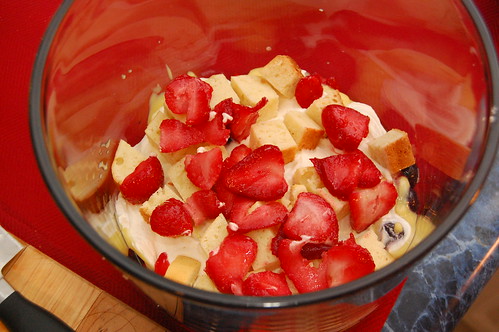
    first strawberry layer

    Add a layer of sliced strawberries over the pound cake. Because basically no fruit is in season right now, I used frozen strawberries and frozen blueberries.. which are frozen in their prime anyway. While cooling the pound cake the night before, I also sliced the strawberries and moved my fruit to the fridge overnight to thaw.

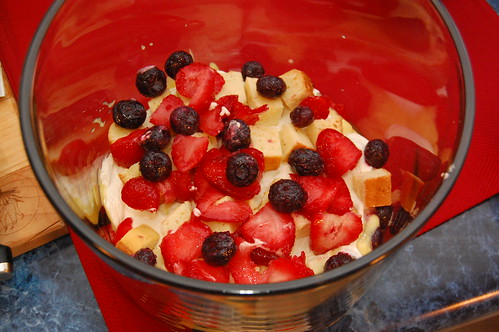
    first blueberry layer

    After strawberries comes blueberries. You should have sprinkled your fruit with a bit of sugar while it thawed overnight. After adding the fruit to the trifle bowl, feel free to sprinkle additional sugar.

    fat free sugar free pudding

    After fruit comes pudding. I used two small boxes of fat free/sugar free vanilla pudding. To make the pudding you mix each packet with two cups of cold milk, whisking for about 2 minutes. The pudding will set in about 5 minutes.

    fat free whip

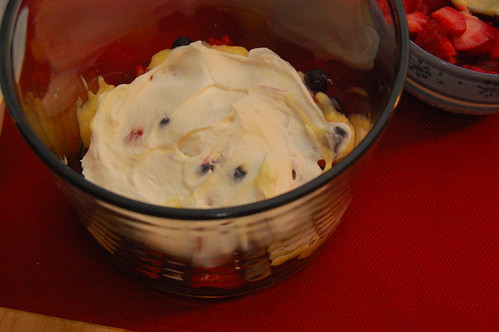
    A layer of fat free Cool Whip will even out the cake and fruit.

    vanilla pound cake

    So pound cake, strawberries, blueberries, a sprinkle of sugar, pudding and Cool Whip is the routine. After the Cool Whip you begin your layer again.

    strawberries

    Lots of people like to get fancy here, arranging each strawberry slice individually. Ghost Baker refuses to indulge this level of detail!

    fruit

    Rustic arrangements keep me sane.

    prying paws

    Do you notice anything that doesn’t belong in this photo? Prying noses and paws, perhaps?

    to the top

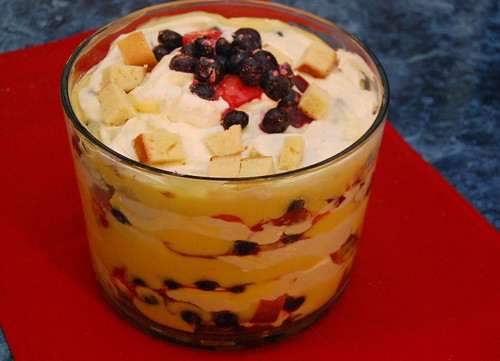
    Once you’re done with your layers, you can get decorative at the top… making lovely fruit arrangements, adding dollops of Cool Whip, coconut, nuts or other kinds of fruit.

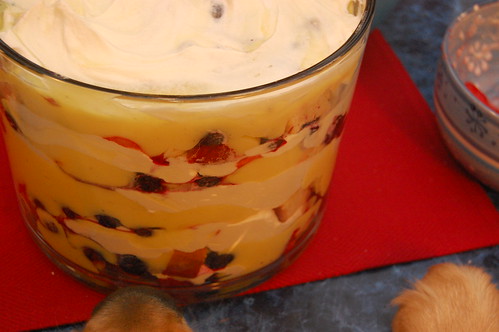
    trifle

    If you’d like your cake to get a little softer and let the pudding and Cool Whip seep in, prepare this early and chill it until it’s time to serve. If you’re firmly against softened cake, then prepare just before serving. I enjoy the pudding-laden cubes of cake, so I prepare mine several hours before serving. Enjoy!

    Ack!

    So I went to the eye doctor this morning and now my pupils are dilated! Hope this isn’t filled with typos – because I can’t see a thing! Please stay tuned.. anyone know how long dilation lasts??

    Hello, 2010. Let’s Have Fondue.

    I typically hate New Years. There’s so much pressure to maximize your fun… just thinking about it makes me tired (see Caring for your Introvert by Jonathan Rauch)!

    meatbase

    But yesterday someone posted on their facebook page “2010 new years goals (if you call them resolutions, you never ever do them).” Huh.. that seems so true! So here are my DinnerCakes goals for 2010; we’ll see how I do:
    1) Read the cookbooks I already have
    2) Experiment more
    3) Work with foods I’ve never cooked with before
    4) Try cooking things I think I won’t like (…many things)
    5) More vegetables!

    Let’s stick with that for now.

    settingup

    So far this month I’ve made fondue using an electric fondue pot. If you’re trying to make meat fondue, this is really the only way to go. The word fondue is from the French verb fondre, which means to melt. It’s actually a Swiss dish in origin. HungryMonster describes:

    During the frigid Swiss winters snow covered mountain valleys isolated villages and towns. Consequently fresh food became scarce. Towns people had to rely upon locally made foods. These were produced by area cheese makers in the summer months. During winter months these cheeses became dryer and more unpalatable. Out of necessity came a wonderful dish, the fondue. It’s named derived from the French word fondue – meaning to melt or to blend. This was exactly what the stale cheese needed to make it more digestible. The cheese was melted in a earthenware pot called the caquelon. Local wines and seasonings were added and even the stale bread tasted delicious after it was swirled in the creamy cheese sauce.

    beerbasecheesedippers

    I don’t know how accurate this information is, but it makes a nice story! I was inspired to experiment with fondue after a friend’s sister had my husband and I over for a fondue night. She used to work at The Melting Pot, so she had some good advice along the way. She made a cheese fondue with cheddar, white wine and garlic, a meat fondue with chicken broth and red wine, and a smores chocolate fondue dessert complete with flambee!

    cheesefondue

    In my own adventures after this dinner, I just made the cheese and meat fondue… I probably didn’t need two chocolate fondues in one week (though I wanted it). This is only round one of me & fondue (you’ll be hearing more later as I learn more), but so far some tips I can pass along include

    meat

    Cheese Fondue (dippers this time – cauliflower, crusty cubed bread, apples)
    1) Flour your cheese – more than you think you need to
    2) Beer in the cheese is delicious, but only use about 1/3 of the bottle
    3) Use more than one kind of cheese for depth of flavor
    4) Keep the temperature hot but not boiling

    Meat Fondue (dippers this time – chicken and beef, new potatoes and mushrooms & teriyaki and BBQ dipping sauce)
    1) Use chicken broth instead of vegetable broth – the veggie broth made the beef taste more like beef stew
    2) Don’t use beef that is specifically for beef stew
    3) Use dry red wine in the cooking base, like Pinot Noir
    4) Veggies like new potatoes and baby bella mushrooms are excellent choices

    My friend’s sister also gave me an awesome recipe for Green Goddess vegetable dip. I haven’t tried to make it yet, though, so I’ll let you know how that goes soon!

    coqauvin

    Third Annual Bake-a-Thon

    So Bake-a-Thon was a little different this year. In year’s past, a bunch of us have gathered at Edwin’s apartment where we work like a chain gang for an entire day – measuring, mixing, chilling, baking, cleaning, repeat.

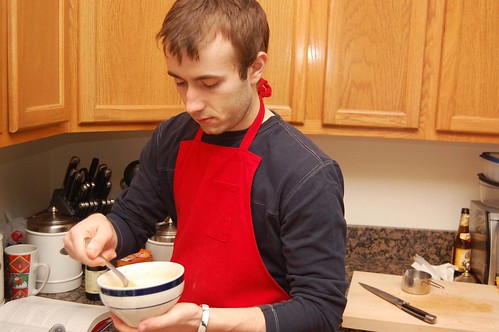
    edwin mixing

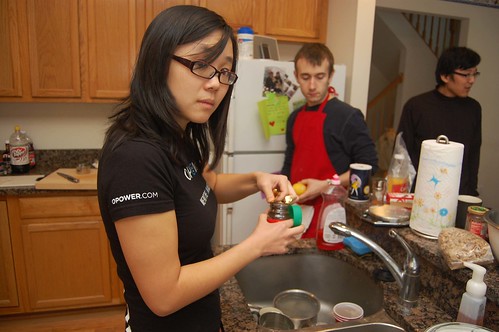
    This year we hosted the event at Jane’s house, which provided us with a lot more room to scamper around in the kitchen. Bake-a-Thon also coincided with a historically large snow fall on the east coast that barricaded us inside (except for Edwin, who seems to enjoy taking his life in his hands).

    jane scary face

    But those who weren’t already at Jane’s when the snow started falling could never make it over, thus our chain gang was cut in half. And since everyone brings a recipe of their choice to the event, we were down in cookie varieties. Some bakers even had technical difficulties (sigh… me…). Bake-a-Thon 2009 was, you could say, a struggle. I could tell you tales of hardened espresso powder and overly softened butter…

    jane espresso

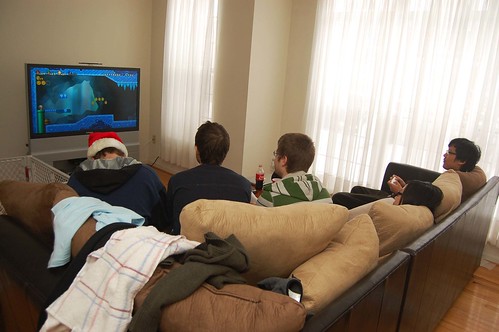
    We also had distractions – watching snow accumulate outside, a whining furry puppy trying to steal butter wrappers out of the trash and New Super Mario Brothers for Wii – we were bombarded on all fronts. It was also the first time I had actually seen Edwin and Jane since moving to Charlottesville in August. Now that I think about it, it’s truly amazing that any cookies were made at all.

    edwin stirring

    Holiday baking is a battlefield. I also forgot my apron and hat – Qué lástima!

    pda

    There was also some PDA in the kitchen. Tye set up a video camera in the kitchen, so I’m sure there is a time-lapse video of all the trials and tribulations somewhere.

    edwin's doughbutter

    Edwin probably walks away with the cookie award for his perfectionism in the kitchen. He moved along on schedule and his cookies looked beautiful.

    jane tea

    Jane enjoyed some tea.

    mario party break

    Right before a round of Super Mario Bros Wii.

    steak break

    Yeah… there was a steak break, too. Courtesy of Dong.

    edwin circles

    Edwin drowned his guilt about gorging on steak by heading back to work.

    edwin butter

    See? He’s not even looking at the pretty snow outside.

    jane espresso dough

    We all had a laugh at Jane’s Espresso Shortbread Cookie dough. Something is just odd about pouring dough in a Ziploc.

    jane edwin

    Edwin arranged his cookies to cool, while Jane ate them.

    cherrycherry cookies

    Edwin’s Sour Cherry Hamantaschen

    russian tea cakesfinished tea cakes

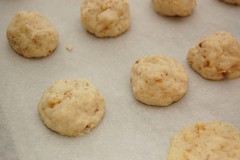
    I was very embarrassed about my Russian Tea Cakes. I’ve made them 100 times without problems, but the 101st time really got me. Two batches – one with butter softened via microwave and one with it left out for 45 minutes – neither was perfect.

    espresso shortbread

    Jane had success with the Espresso-Chocolate Shortbreads from Smitten Kitchen.

    bakeathon

    Tune in next year for the 4th Annual Bake-a-Thon! Will we have another record-breaking snow? Will Edwin finally fall victim to distraction? Will I ever reconcile my differences with room temperature butter? Time will tell…