Spicy & Hot Tofu Puffs

Can you tell that I’m on an Indian food kick?

Just yesterday I decided to treat myself to the Indian buffet near my office for lunch. So delicious, and so much food! My birthday is on Saturday and, I’m not sure if any of you are aware, but calories actually don’t count on your birthday (or the days leading up to and after your birthday).
tofu

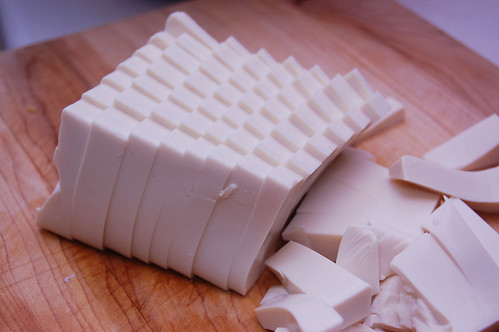
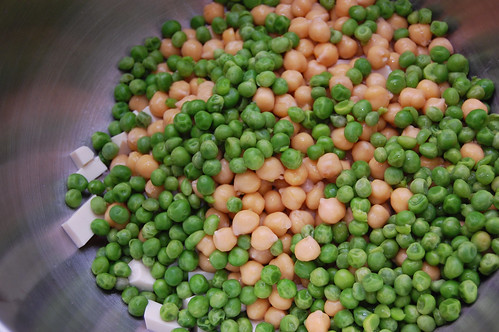
So a few weeks ago when I saw a recipe for Chile Pea Puffs on 101 Cookbooks, I was ecstatic and decided to make something similar. I took out the paneer and added silken tofu, garbanzo beans, Indian chillies, cumin and curry powder.
peaschickpeastofu

I couldn’t find wonton wrappers at the grocery store, but I picked up phyllo dough. Unfortunately it was my first time working with phyllo; I got impatient and I did a pretty sorry job with them. I’m not jumping at the chance to work with phyllo again, but the filling was great!
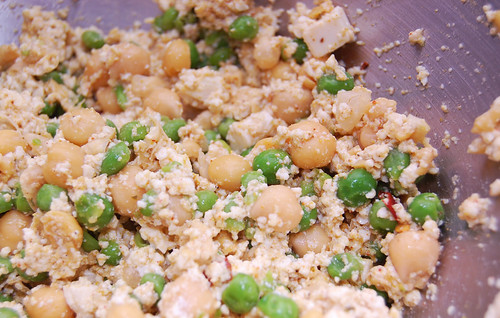
peaschickpeastofumashed

The Indian chillies give this quite a lot of heat. If you don’t like heat, then you’ll want to leave the seeds of the chillies out, or leave them out entirely along with the red curry powder (seriously, it’s hot!). My husband who, like me, doesn’t eat a lot of tofu and isn’t totally comfortable with it yet, didn’t even know that there was tofu in this until I told him. We were both pleasantly surprised! I recommend that tofu-phobes give this a chance – this recipe had both of us scratching our heads as to why we don’t work with tofu more often!
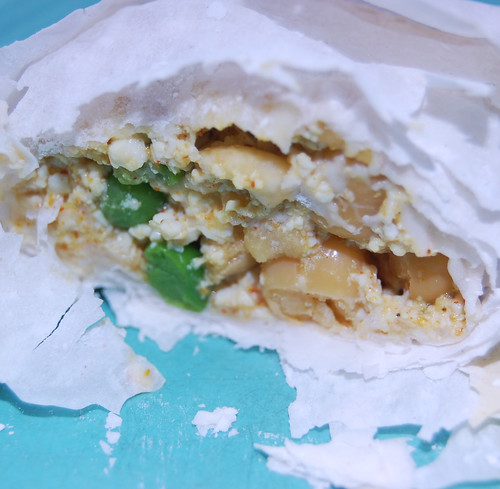
puffs

Spicy & Hot Tofu Puffs
Adapted from 101 Cookbooks

1 1/2 cups green peas, cooked
1 can garbanzo beans (15 ounces), drained
1 package silken tofu (12 ounces), cubed
2 Indian chillies (seeds removed for less heat!), crushed
1 teaspoon yellow curry powder
1/2 teaspoon red curry powder
1/4 teaspoon cumin
1/4 teaspoon salt
1 clove garlic, minced
wonton wrappers or package of phyllo dough (if using wonton wrappers, use instructions here)

Preheat oven to 400F. Spray baking sheet with cooking spray or line with parchment paper.

Combine all prepared ingredients in a large bowl. Mix well and crush lightly with the back of a fork.

Allow phyllo to thaw. Unroll and place mixture onto center of one piece. Fold edges together to make a pocket, brushing edges with egg whites to hold in place and secure seam. Place on baking sheet, forming a single layer of puffs.

Cook for 4 minutes, then turn puffs once and cook until crisp and golden brown.
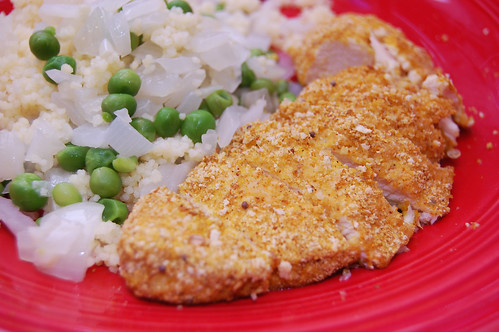
Crisp and Juicy Curry Chicken

We hope you all enjoyed Rainbow Week! It was a lot of fun for us to do. If you have suggestions about other themes you’d like to see, please let us know!

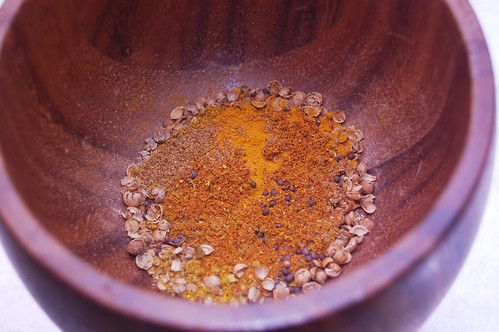
spices

And now a confession – this is my new favorite dinner recipe. I can’t believe that there was actually was a time when I didn’t really like cumin or curry; now they’re some of my staple spices.

This dinner is so easy and delicious. I like having a bit of crispiness to my chicken, but of course without all the fat that comes with frying and using oil. I coat the chicken with a variety of Indian-style spices and a little bit of plain bread crumbs – it locks in the juiciness of the chicken and provides for some excellent flavors.

I like to serve it with couscous, but it would also go well with steamed rice. Hope you enjoy it as much as I do!

chickencurry

Crisp and Juicy Curry Chicken

For couscous:
1/2 onion, diced
1/2 cup peas
1-2 cloves garlic
dash salt
whole wheat couscous

For chicken:
1 lb chicken breast, sliced in half lengthwise
1/2 teaspoon cumin
1 teaspoon yellow curry powder
1 teaspoon coriander, ground
1/4 teaspoon brown mustard seeds
1/4 teaspoon ground turmeric
1/4 teaspoon red curry powder
1/4 cup plain bread crumbs
3 fresh basil leaves, torn into small pieces

Preheat oven to 400F. Combine spices for chicken in a small bowl and stir with a fork. Add chicken halves to a gallon Ziploc bag with a tablespoon of water. Add spices to bag and toss gently to coat the chicken (you could dredge the chicken to coat it, but I’ve found I get a much better coating when I use the Ziploc).

Bake chicken for 20 minutes until cooked through. While chicken is baking, saute onions in a small pan for 5 minutes until transcluscent. Cook couscous according to package instructions, toss lightly and add onions, peas, garlic and salt. Cover and keep warm until chicken is ready.

Day #6 of Rainbow Week – Pastel and Tie Dye Cupcakes

You’re looking at day six of our Rainbow Week series. Click here to start on day one.

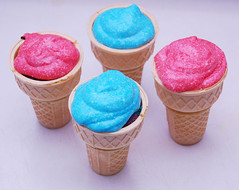
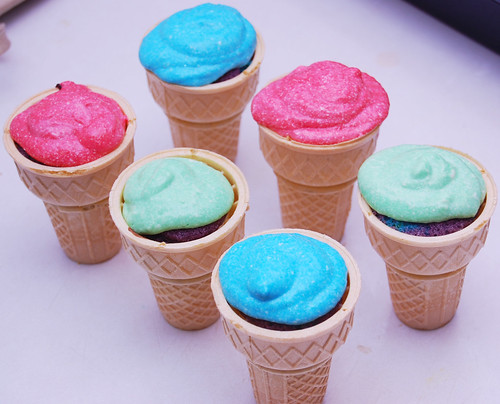
Well, we’re nearing the end of Rainbow Week! We hope you’ve learned some new things and that you have plans this weekend to make lots of colorful rainbow treats like today’s post – Pastel Tie Dye Cupcakes.

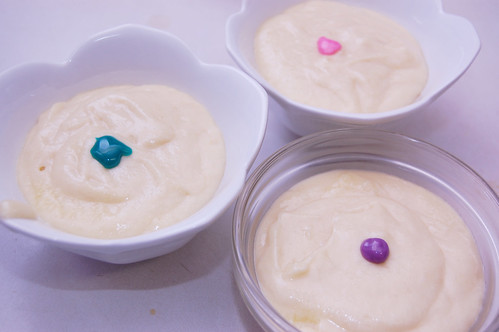
adding pastel

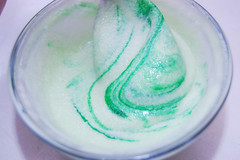
greenswirlpastelpurple

Back in the day I loved tie dye – and let’s be honest, I still do.

pastelcolorscupcakeswirl

Last weekend I was at a wedding for great couple; my husband and I met the groom back in high school. One of the groomsmen made a nice slide show of memories for the couple which was shown at the wedding. He joked with me that he had a bad old photo of me he considered including. Once he described the photo I remembered it exactly – I was wearing an old pair of jeans that I turned into bell bottoms using some tie dye fabric. Hey, who cares what he thought, right? I thought they were cool…

cupcakebatter

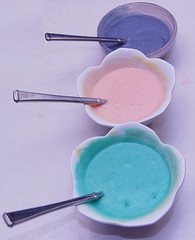
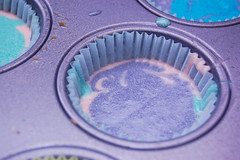
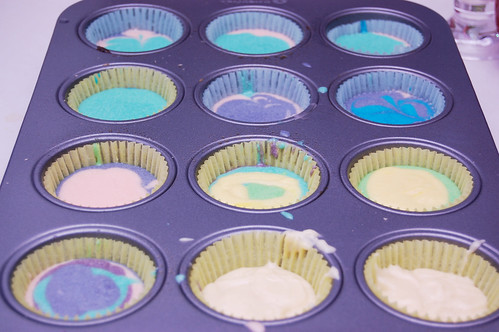
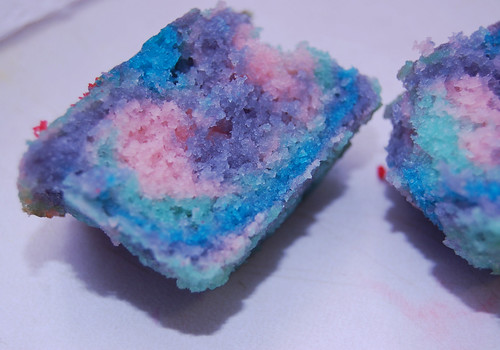
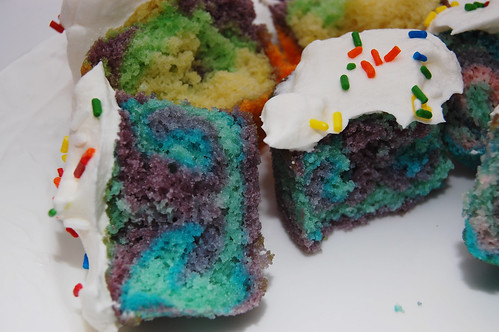
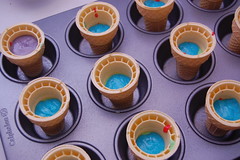
Making rainbow cupcakes like these can even be more fun than rainbow cake because each individual cupcake can have a unique pattern – colored layers, marbled/swirled batter, just color in the middle, etc. I used pastel purple, teal and pink, along with a few other colors, in yellow butter cake batter.

brokencupcake

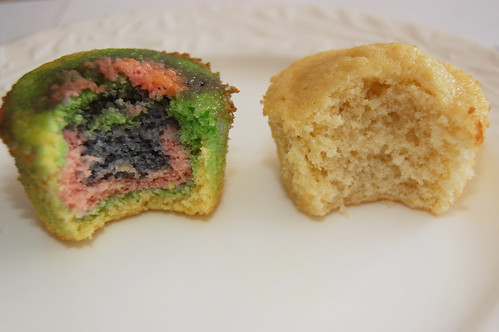
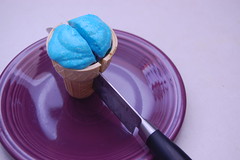
I was also able to do a little test, baking regular cupcakes alongside rainbow cupcakes to see how the color affects the batter. The answer is, as I believe Edwin mentioned and as I found out, that the color does affect the batter, particularly this time.

cupcakecomparison

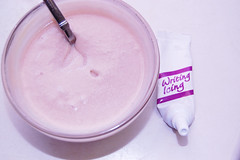
Pastel colors, because they’re lighter, require more gel. Whereas Edwin and I use only a small amount of primary color gel for the rainbow cake and rainbow cake cones, I had to use the whole tube of pastel color gel to color the batter – oy! All the stirring needed for pastels unfortunately makes the cupcakes more dense. So I might recommend sticking with primary color gels for the best tasting cake, although the teal color did turn out pretty cool!

inside cupcakes

Yellow Cake & Frosting

I used the same Williams-Sonoma yellow cake recipe here as I did for the cake cones. If you don’t have the Williams-Sonoma “Desserts” book, I would recommend this recipe available online by Martha Stewart for a basic yellow butter cake, adapted from “Martha Stewart’s Baking Handbook.” It is very similar to the one I used. A box yellow cake mix will also work.

To frost the cupcakes, I used a light and fluffy fat free Cool Whip. A Seven Minute Frosting would also work well. Anna at Cookie Madness has a good recipe for Seven Minute Frosting, and Joy the Baker has a Seven Minute Frosting that you can make pink or green (just in case you want even more color for your cupcakes!).

In case you missed Edwin’s detailed instructions on “How To Make Your Own Rainbow Cake” earlier in the week, please check it out for very useful tips and advice before you begin.

Day #4 of Rainbow Week – Tropical Fruit Salad

You’re looking at day four of our Rainbow Week series. Click here to start on day one.

Need a little break from baked goods? Rainbow cakes are a lot of fun and make for great eye candy, but there are other options for impressive and vibrant food as well.

pineappletoss

strawberriesoverflowing

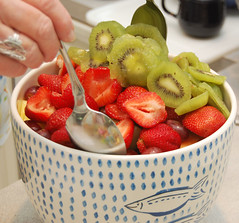
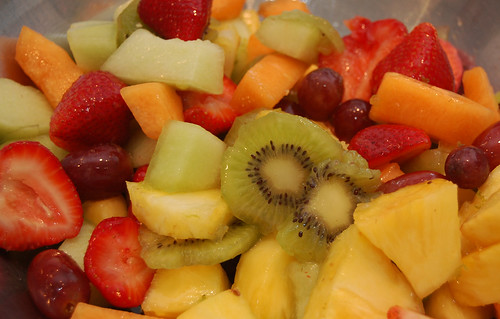
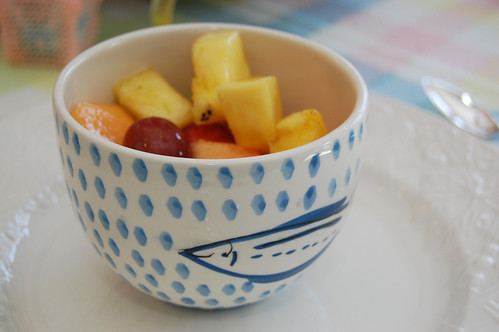
I hijacked this fruit salad recipe from my mom. In fact, I took the photos for this post the last time she made it (which I hope made for some cool action shots). I love the fruit salads that she makes because they always have very sweet and excellent glazes. This one packs a little more punch than some of my other favorites because it comes with tequila!

pouring

The tequila is noticeable, but not overbearing. You could leave it out if you really wanted to, but why? This recipe makes a very large bowl of fruit – perfect for entertaining at cookouts or dinner parties. If you’d like to adapt it to every day use, simply cut the recipe in half.

fruitsalad

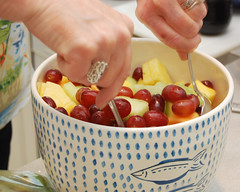
You can probably tell this from the photos, but if you do decide to make a large batch, make sure you use the appropriate size bowl. We ran into some overflowing problems and had to transfer the fruit to a larger, wider bowl so that we could toss it with the glaze.

tropicalsalad

Tropical Fruit Salad
Adapted from Sandra Jackson-Work’s “Cooking with Friends” submission to Betty Crocker’s “CELEBRATE!” (April 2000, #161)

3/4 cup sugar
1/4 cup water
1/4 cup Key lime juice
2 to 3 tablespoons tequila
1 teaspoon fresh grated lime peel
14 cups cut-up fresh fruit – strawberries, cantaloupe, pineapple, kiwi, honey dew melon, red grapes

Heat sugar and water to boiling in small saucepan. Reduce heat, and simmer uncovered for approximately 2 minutes, stirring constantly until sugar is dissolved. Remove from heat and stir in lime juice and tequila.

Let stand to cool. Cover and refrigerate for approximately 2 hours.

Stir in lime peel. Carefully toss fruit and lime mixture. Serve immediately.

Or, click here for a version without tequila (boo!).

Day #2 of Rainbow Week – Cake Cones

You’re looking at day two of our Rainbow Week series. Click here to start on day one.

Welcome back to work (for many of you); we hope you had a great holiday! Rainbow Week continues here on DinnerCakes, and today I’ll be sharing rainbow cake cones.

colors

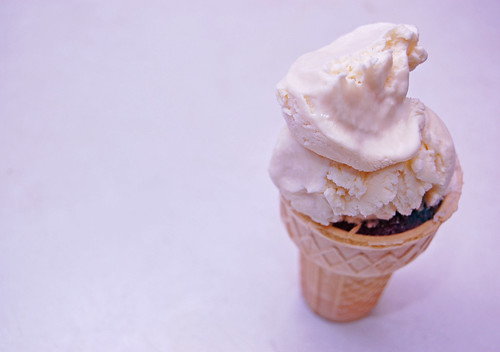
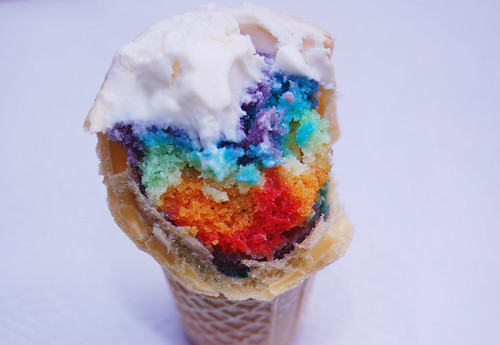
Cake cones are ice cream cones filled with cake. My mom used to make them for me when I was little. It’s a fun twist on a traditional cake, and if you scoop ice cream on top instead of frosting, it’s perfect for dessert lovers who enjoy cake and ice cream. Cake cones also lend themselves particularly well to rainbow cake.

DSC_0047DSC_0049

cakeconesoven

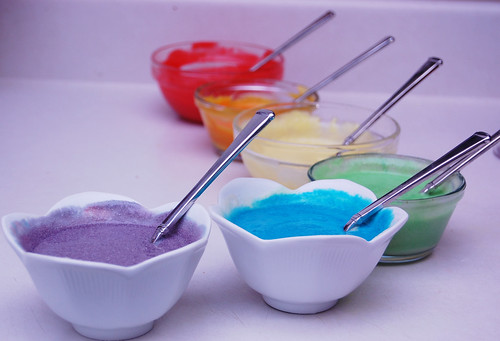
Yesterday Edwin recommended using standard food drops or fondant coloring gels. I divided yellow cake batter into small bowls and used about 1/4 teaspoon of Betty Crocker classic food coloring gels, stirring as little as possible.

cutconecakecones

cakecones2

I used a small spoon to pour one spoonful of each color batter into the cones. Because the cones are small, it’s easier to get an even layer of color, by moving the spoon from front to back, than it is with a large cake pan. Fill your cones about 2/3 full.

DSC_0051 (2)DSC_0070 (2)

To cook the cake cones, set the cones inside a muffin pan to keep them from falling over. For half of my cones, I made cream cheese frosting and added a few drops of food gel for color. I left the other half frosting-free so that I could scoop ice cream on top. I would recommend serving your cake cones with ice cream scoops. As you might imagine, I enjoy my cake with ice cream, but I also think it tastes better. The cake cones with frosting instead of ice cream is just a little too dry for me.

icecreamcone

The yellow cake recipe that I used is from my Williams-Sonoma Desserts book. I will admit that I enjoyed the taste of Edwin’s rainbow cake using a gold cake recipe more than my yellow cake (yum!), but either gold or yellow will work well. Enjoy!

icecreamconebitten

Finding the Perfect Yellow Cake & Frosting

If you don’t have the Williams-Sonoma “Desserts” book, I would recommend this recipe available online by Martha Stewart for a basic yellow butter cake, adapted from “Martha Stewart’s Baking Handbook.” It is very similar to the one I used.

You may also use a box yellow cake mix if you’re so inclined. Though I will add that Edwin has said, “Every time a DinnerCakes reader makes cake from a box a piece of me dies inside.” So, do with that what you will, readers!

I recommend using an ice cream of your choice instead of frosting the cake cones, but for half of my cones I used cream cheese frosting. It doesn’t take much food gel to color the frosting; I separated the frosting into small bowls and used about 3 to 5 drops of food coloring gel. I put the frosting in a small ziploc bag and cut off the tip to create a makeshift pastry bag. For a good recipe that won’t make an obscene amount of frosting, check out this one from Anna at Cookie Madness. For a frosting that’s a little flashier, Edwin recommends this Coconut Cream Cheese recipe from 101 Cookbooks.

In case you missed Edwin’s detailed instructions on “How To Make Your Own Rainbow Cake” earlier in the week, please check it out for very useful tips and advice.

If you’re not following us on Twitter yet, then you may have missed out on some cool foodie links that we unearthed this week. Here’s a wrap up of what we think is fun or interesting in the foodie world right now:

Epicurious posted their thirty favorite, top-rated cake recipes – browse through mile-high chocolate cake, cheesecake, fresh coconut cake and some more exotic options like “Persian Love Cake,” a lemon-cardamom chiffon cake with saffron and rose-scented whipped cream. Click here.

Chef Edwin located Mark Menjivar’s “You Are What You Eat,” a photographic exploration of the contents of strangers’ refrigerators. Click here.

Looking to jazz up your usual coffee routine? Try some new tricks for your coffee. Click here.

My personal favorite thing about the warm weather means that farmer’s markets are back in action. But do you know how to pick the right fruits and vegetables. Click here for a short quiz to see if you know how to shop a farmer’s market.

David Murdock at the Huffington Post shares the amazing health effects of “33 Of The Healthiest Foods On Earth.” Click here for the list.

And of course, your festive Lolcat for the day! If I was deprived of pancakes I believe I’d be making that same face.

funny pictures of cats with captions

Hope you’re enjoying your Memorial Day weekend!

Kitchen Tips – Simple Tricks for Fussy Palates

As you all well know, I can sometimes be a veggie-phobe. Yet for some reason as the sun comes out and the temperature rises, even I can be tempted.

Last Friday me and my husband, Chef Edwin and his lady friend and some bake-a-thon alums got together at Edwin’s for a happy hour cook-out.

meatballs

You would never, ever catch me putting raw onion slices or green pepper on my burger, but if you dice it and roll it into the patty, I’m sold. Though I still ate way too much food at the cook-out, with some veggies in the patties at least I did sneak in more vegetables than usual!

I’ve been told that most people aren’t like me in that they actual revel in eating fresh vegetables, but if you know and love a fussy eater (spouse, significant other, child, etc.), consider add vegetables to your patties. Dicing veggies to a small size will work best. This will also work well for meatballs.

Food Photography – Mom's Strawberry Shortcake

strawberryshortcake

Pictured: Mom’s signature birthday cake – Strawberry Shortcake.

My father and brother demand it for their birthdays each year. I’m sure this will scandalize everyone, but when I was little I used to pick off the strawberries and just eat the cake!

I like to marvel at this photo I took from my dad’s recent birthday… perfectly aligned cake, not a drop of Cool Whip amiss, strawberries and candles evenly spaced – Mom is a much more meticulous baker than I!

Baked Ziti

Last week I decided to make something a little different for dinner. My husband really enjoys lasagna, but because it was a weeknight we didn’t have the time to take quite that long. I settled on baked ziti!

It’s funny, whenever my family goes out to dinner it’s usually to an Italian restaurant. My husband also has an Italian grandma. Despite all that, I never typically cook Italian.

DSC_0001

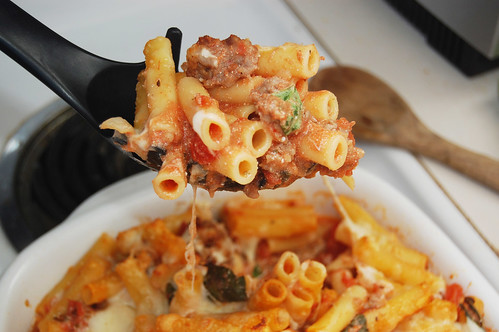
My newbie attempt adapted from Taste of Home turned out pretty well, and I made enough ziti to almost overflow my shallow 13×9 ceramic baking dish. I don’t like a lot of vegetables in my pasta sauce, so I left them out and instead added Italian sausage, oregano, parsley flakes and more red pepper flakes. I also took out the provolone cheese so that it wasn’t quite so cheesy.

I had meant to include some spinach as well, but unfortunately I forgot to include it. I’d love to hear your ziti recipe and see what you recommend as well!

servingziti

Baked Ziti
adapted from Taste of Home

1 cup onion, diced
2 cloves garlic, minced
2 cans (14 oz.) Italian diced tomatoes
1 can (15 oz.) crushed tomatoes
1 tiny can of tomato paste
1 cup vegetable broth
1/4 teaspoon crushed red pepper flakes
1 box ziti
1 cup (8 oz.) part-skim ricotta cheese
1/4 cup loosely packed fresh basil leaves
1 cup (4 oz.) shredded part-skim mozzarella cheese
1/4 cup grated Parmesan cheese

In a large nonstick skillet, saute the onion and garlic until onion is translucent. Stir in tomatoes, broth and red pepper flakes and bring to a boil. Reduce heat and simmer for approximately 15 minutes.

Preheat oven to 425F. Cook ziti according to package instructions. Drain and return to pot. Stir in the tomato mixture, ricotta and basil.

Transfer to a shallow 13×9 baking dish and sprinkle with mozzarella and Parmesan. Bake uncovered for 10-15 minutes until cheese is melted.

Let’s bake! What do you say? When too much time passes without any baking I get antsy!

I was bouncing some ideas off Edwin recently for what to bake, but he didn’t seem to interested in what I was coming up with. I understand his hesitation; typically baking experiments either end in sweet and wondrous success or abject failure!

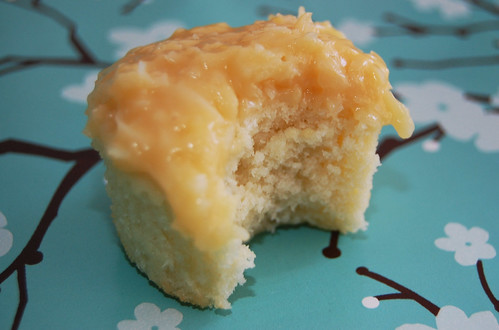
bitten

I had some leftover ricotta in the fridge from a batch of ziti. Too many times these things go to unused and I find myself throwing away expired whipping cream, ricotta, sour cream and buttermilk. Not this time!

I’d also been thinking about coconut cake lately. I visited Alton Brown’s recipe, but he suggests coconut milk, coconut extract, coconut cream and coconut water. I don’t even know what coconut water is, but it sounds like an unwanted road block to me!

I turned to a Cooking Light coconut cake recipe and adapted it to make one dozen cupcakes. I didn’t have cake flour on hand, so I looked up an interesting adaptation to make all-purpose flour more like cake flour. I also put some shredded coconut in the food processor to make it as fine as possible and then added it to the batter. And of course, I experimented with adding 1/4 cup of ricotta.

buttercreamandgermanchocolate

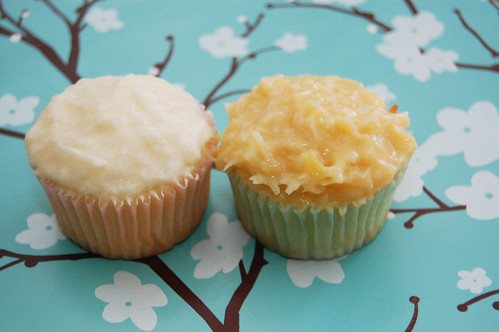
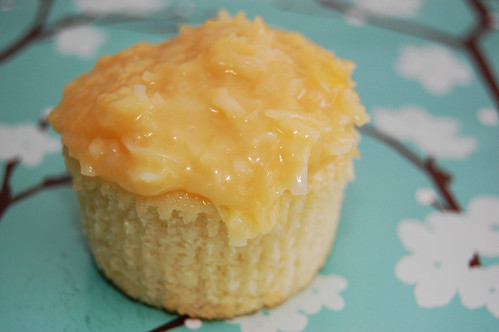
You can’t pick out the ricotta, but it does give it some more flavor complexity and adds to the texture. I have a bad connotation with the word “dense” so I definitely wouldn’t call them that, but they’re more on the substantial side than flimsy and airy. I decided to pair them with the kind of frosting you’d find on a German chocolate cake – golden, full of coconut and sweetened with evaporated milk almost like Dulce de leche. I also made a batch of coconut buttercream frosting for half of them, but I much preferred the German chocolate cake frosting. The buttercream was just too sweet for the cake, I thought.

I think these cupcakes are very different from what I’m used to, and I am loving them!

cupcake2

Secret Ingredient Coconut Cupcakes with German Chocolate Cake-Style Coconut Frosting
Cake recipe adapted from Cooking Light
Makes 1 dozen cupcakes

1.1 cups all-purpose flour (one cup plus a little less than half a quarter cup) + 2.5 tablespoons cornstarch
1 teaspoon baking powder
1/4 teaspoon salt
1 cup granulated sugar
4 tablespoons unsalted butter, room temperature
2 large eggs
3/8 cup light coconut milk
1/2 cup shredded coconut, pulsed in a food processor
1/4 cup part skim ricotta

Drop paper wrappers into cupcake pan. Preheat oven to 350F.

Combine flour + cornstarch, baking powder, salt, shredded coconut in a medium bowl with a whisk.

Cream butter and sugar together in a large bowl with an electric beater or stand mixer until creamy. Add eggs one at a time.

Alternate adding flour mixture and coconut milk to the bowl while beating; begin and end with the flour mixture. Add ricotta. Beat until combined.

Using a tablespoon, drop two tablespoons of batter into each cupcake wrapper. Divide any extra evenly so that wrappers are 3/4 full. Bake for approximately 18 minutes.

German Chocolate Cake Frosting
Adapted from Cupcakes! From the Cake Mix Doctor and also found on Cooks.com

6 fluid ounces evaporated milk
3/4 cup granulated sugar
6 tablespoons unsalted butter
2 egg yolks
3/4 teaspoons vanilla
1 cup shredded coconut

In a large saucepan on medium heat, combine evaporated milk, sugar, butter, egg yolks, and vanilla. Stir constantly with a wooden spoon for approximately 10 minutes. The frosting should be thickened and golden. Remove from heat and cool completely before frosting cupcakes.