
Our new favorites page is experiencing some technical difficulties.
Blame Edwin! 🙂
Our new favorites page is experiencing some technical difficulties.
Blame Edwin! 🙂
On Tuesday I told you all that I bought some fancy local cheese and made a great burger – well I still had a lot left, so I was brainstorming things to make.
I remembered something I read by Martha Stewart that suggested using sharp, pungent cheese when making macaroni and cheese because, not only does it add some more pizazz and a grown-up twist, you also apparently fill up faster and so eat less (for a mac & cheese-aholic like me, this is great news).
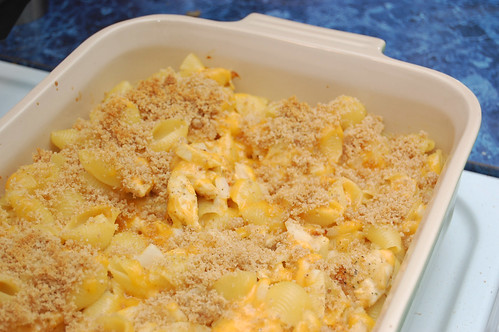
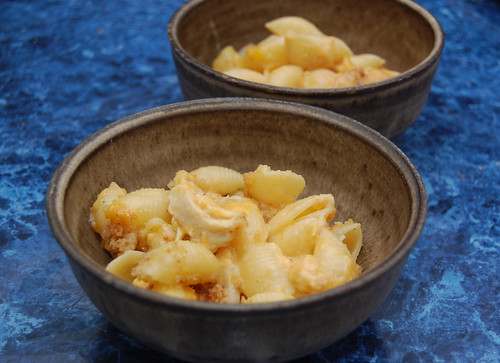
But I couldn’t just do mac & cheese either. I decided to try to recreate my favorite thing on the menu from my old haunt in Pittsburgh, PA – Rock Bottom Brewery‘s mac & chicken. I’m happy to report the result was pretty awesome.
I adapted a great mac & cheese recipe from Alton Brown. If you use your time wisely and do a few things at once (e.g. start boiling the water for pasta once the chicken is halfway done) you’ll find that it doesn’t take you that long. This is something great to make early in the week or on Sunday night and have it last for several days.
1 pound boneless skinless chicken breast
1 pound shell pasta (small shells, not the kind used for stuffed shells)
3 tablespoons unsalted butter
3 tablespoons flour
1 tablespoon powdered mustard
2 cups milk (I used skim because that’s what we have on hand)
1/2 cup yellow onion, finely diced
1 teaspoon paprika
1 large egg
10 ounces sharp cheddar, grated
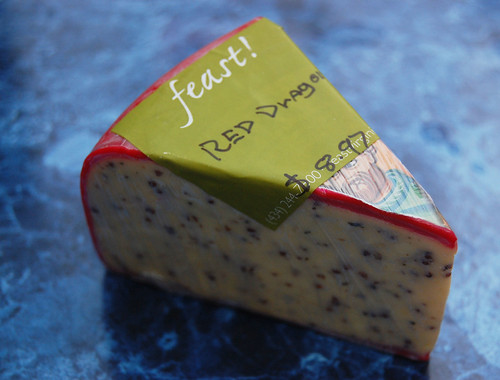
1/2 ounce Red Dragon cheese (Click here for my blurb about this spicy peppercorn and brown ale cheese; if you can’t find it, pick another melting cheese that has some bite!)
1 teaspoon kosher salt
fresh black pepper
Topping:
2 tablespoons unsalted butter
1 cup plain bread crumbs (Panko are better, but use what you have)
Preheat oven to 425F. Trim the fat from your chicken and cut in half longways. Set on a baking sheet and season generously with paprika, salt, pepper and a little Montreal Chicken Seasoning. Bake for 20 minutes.
To make the best use of your time, as soon as you put the chicken in the oven dice the onion, shred the cheese and measure out your ingredients. When chicken is halfway done, set a large pot of water to boil for the pasta and add pasta once it’s boiling. While you’re heating up the water and the chicken is still in the oven, set a medium size pot on the stove and melt the butter. Whisk in flour and mustard powder – keep the mixture moving. When it’s lump-free, stir in milk, onion and paprika. Stir frequently for about 5 minutes.
The chicken should be done by now, so set it aside to cool and turn down oven to 350F.
Temper the egg slowly, then stir in 3/4 of the cheese. Season with salt and pepper, then fold the cooked pasta into the mixture. Shred cooked chicken or cut it into small pieces and incorporate with the pasta and mixture. Pour into a large casserole dish and top with remaining cheese.
Melt the butter for the topping in a small saute pan and toss the bread crumbs to coat. Sprinkle over pasta and bake for 30 minutes. Let cool for a few minutes before serving.
Good morning!
First off, I’d just like to draw your attention again to our new “Favorites” page, found in the navigation bar at the top of the blog, just under the logo. We’re hoping this comes in handy on nights when you just don’t know what to make for dinner or what to bring to the office the next day for treat. As always, always feel free to let us know what you think and how we can make DC easier for you to use!
Now, if you follow our tweets, then you may have seen me mention that on Saturday I went to a really neat gourmet store/cafe in Charlottesville called Feast! Almost all the food is local. Feast’s mission connects “local farmers, artisan food producers and consumers by specifically sourcing and endorsing hand-made, local and seasonal foods that sustain the viability of farmland and family-owned food businesses.”
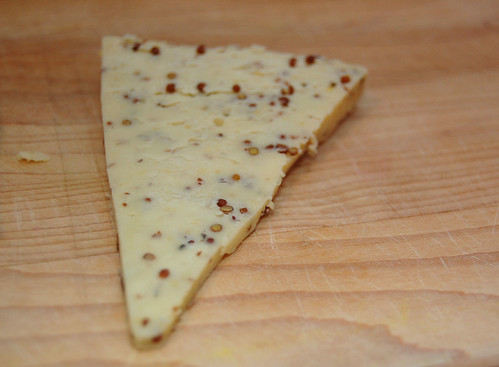
So Morgan and I allowed ourselves to indulge a little, and we bought some basil pesto, fancy cheese, & apples. This week I’ll be experimenting with using that cheese, called Red Dragon. Red Dragon is a creamy cheddar made from cow’s milk, containing Welsh brown ale and brown mustard seeds. There’s a bit of horseradish flavor to it; it’s definitely spicy with some good bite (read more about it here, here or here).
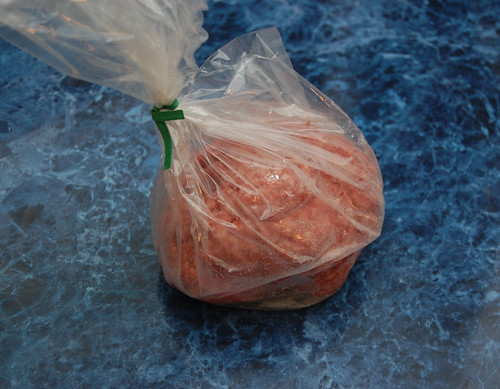
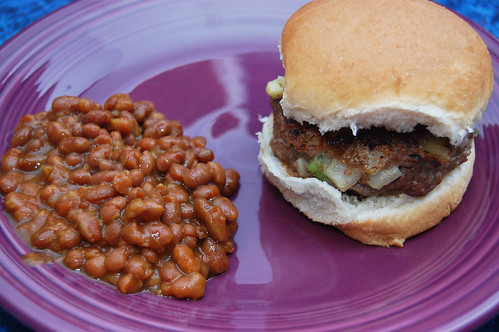
I’ve praised Ray’s Hell Burger in Northern Virginia here before – and what makes them stand out is the amazing quality of their ingredients. A burger is a simple thing, but quality beef, unique cheeses and a “just right” bun really makes a difference. Morgan and I used a few slices of the Red Dragon cheese we bought, as well as a pound of local ground chuck. The result was amazing.
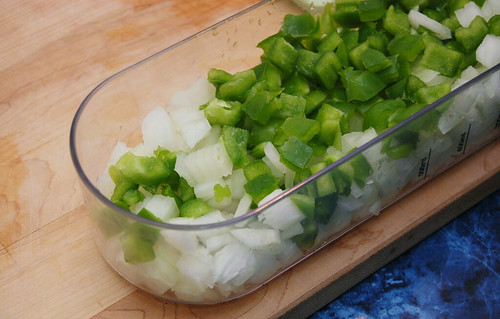
We try not to be big beef eaters, so we figure if you’re going to make a burger, you may as well make it the best burger. I cut up some green pepper and onion, also bought at the farmer’s market – keeping with our local theme, and threw them into the patties. Check out some of your local markets soon, and get ready to taste an amazing burger!
1 pound local ground chuck
1 medium-small farmer’s market green pepper
1 medium-small farmer’s market yellow onion
small block of local cheese (something with bite, like Red Dragon)
6 hamburger buns (gasp, we didn’t go local here!)
1 egg, beaten
2 cloves garlic
1/2 tablespoon Old Bay Seasoning
1 teaspoon Nature’s Seasoning
1/4 teaspoon mustard powder
dash paprika
Heat a grill pan on medium heat (we don’t have an actual grill, so if you do – go for it!). Dice green pepper and onion and set aside. Add ground chuck to a medium size bowl and combine green pepper, onion, egg and spices. Mix thoroughly with hands. When spices are fully incorporated, form into 6 medium size patties.
Add a small amount of oil to the grill pan and add patties two at a time, cooking for 4-5 minutes on each side (8-10 minutes total), until desired doneness is reached. Enjoy!
Well, team… it’s been fun having you all to myself while Chef Edwin was off exploring the west coast. Unfortunately we didn’t get to make fried cheesecake, but let’s take a rain check?
I want to mention something that is probably completely elementary for some of you and may come as a shock to others – when cooking and especially baking, you need to use a different measuring cup for wet ingredients and dry ingredients.
Maybe you’ve had this debate with a friend or spouse before; I know I have! I’ve even tried using a dry measuring cup for liquids once when I was too lazy to wash the wet measuring cup (awful, I know!) – the result was not good!
If you need a little convincing, I’ve rounded up some articles that talk about the necessity of using wet with wet and dry with dry, in addition to a few discussion boards where people are battling the question out. Feel free to join in the melee!
What Is the Difference Between Wet and Dry Measuring Cups?
Liquid vs. Dry Measure Converter Tool
Dry and Liquid Measuring Equivalents

Happy Friday!
Remember last week’s easy, gluten free, vegan, dairy free, sugar free banana ice cream experiment? Chicagoist caught wind of the original Lifehacker article and tried it as well.
For any banana-haters out there, here’s a quote from the article:
“The nicest surprise was that it wasn’t overwhelmingly….banana-y.”
Summer is slipping away from us, and I find myself buying up all the fresh fruit I can find. Thankfully, pears won’t be going away just yet.
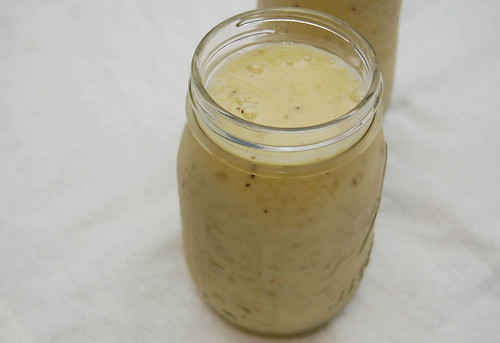
Pears are one of Morgan’s favorite fruits, but I don’t love the grainy, gritty sort of texture. Fortunately we’ve found that I’ll eat almost any fruit blended into smoothie form. Am I completely ridiculous? Yes.
Other things that I only like in certain forms:
The moral I’m suggesting in today’s story is to not immediately pass on something you typically don’t like if it’s in a new form (Yes, I’m laughing at the irony as I type this).
And on that note, I’m determined to open Edwin’s eyes to pumpkin this fall. So please, start passing your pumpkin recipes my way now. We’ve got our work cut out for us!
1 pear, core removed
3/4 cup frozen cherries
1 frozen banana
1 cup milk
Combine ingredients in a blender and puree until smooth. For more thickness, add less milk – for less thickness, add more milk.
Here’s a cool article that Morgan unearthed today from Men’s Health:
The Great Chef Playbook – 30 little kitchen tips and tricks that make a big difference!

Pictured: Mini bright red velvet cake with cream cheese drizzle and whipped cream.
With Edwin out of town on vacation and me being a full-time graduate student (ie, I don’t get labor day off!), I realize that we really let Labor Day go by yesterday without a second thought. So what did you do with your Labor Day? Did you go out of town or have a cookout?
Today I want to share an excellent link I found on NPR’s website – it’s a gorgeous collection of fruits and vegetables growing across American farms. I went to the Charlottesville farmer’s market for the first time on Saturday and it was absolutely amazing… so I have fruit and veggie stands on my mind! Click the food for a pop up of some quick facts, tips on storing and preparation, and a recipe. I know I’m eying the Alabama Peach Ice Cream.
I’m still obsessed with my Anheuser-Busch Great Food Great Beer cook book. I know, it doesn’t look like much… but it really has great easy recipes that you can throw together on a weeknight (and isn’t that what you’re here for?).
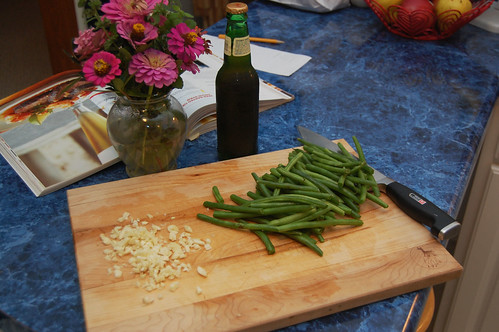
This cook book led me to my new favorite way to cook shrimp – drenched in beer. It’s not the first time I’ve cooked or baked with beer and had success… Check out my previous posts:
Guinness Beer Brownies And [photos of] Babes
Taco Salad with Drunken Black Beans
You don’t need to use a fancy beer, a bottle of Budweiser will do just fine. I adapted the recipe from the cook book a bit, adding a few extra spices to give it more depth of flavor.
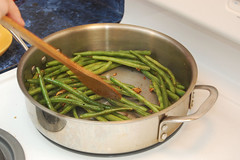
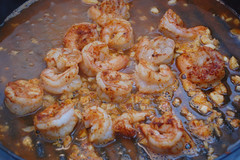
I also cooked the shrimp in a grill pan instead of a heavy skillet, but because you’re drowning the shrimp in beer it probably doesn’t make a difference. Morgan and I enjoyed this dinner over couscous and spicy Szechuan style green beans (spice-phobes beware!).

Drunken Shrimp
16 frozen shrimp, thawed and peeled according to package instructions
1 bottle (12 ounces) beer of your choice
5 cloves garlic, minced
1/4 teaspoon cayenne pepper
1/4 teaspoon cumin
1 teaspoon chili powder
2 turns of salt, 12 turns of pepper
Measure and combine cayenne, cumin, chili powder, salt and pepper in a small ingredient bowl. Heat large skillet on medium high heat. Add a little bit of oil when hot. Add garlic and stir quickly so that garlic doesn’t burn. Add shrimp, followed by spice mixture, and stir.
Immediately pour 1/2 bottle of beer into pan and cook for about 3 minutes. Turn the shrimp and add remaining 1/2 bottle of beer. Cook until shrimp are firm, pink and curled. Serve immediately.
Szechuan Style Green Beans
approx. 1 pound green beans, washed and ends broken off
2 cloves garlic, minced
1/4 teaspoon ginger
1/2 teaspoon curry powder
1/2 teaspoon cayenne powder
1 tablespoon soy sauce
Heat medium size skillet on medium heat. Add about 1 tablespoon of oil, followed by green beans. Stir, adding spice mixture and soy sauce. Cook until desired tenderness is reached (about 7-10 minutes).


