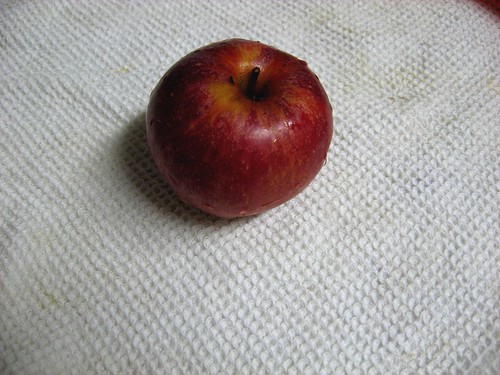
If you went apple picking this season like Edwin, then you may have a few extra apples in your kitchen. Apple pie is delicious, but many people don’t have the time to wrestle with dough and pie crust (and some don’t want to be tempted to eat a whole pie by themselves). Of course, this is sad for me because my favorite part is the crust! But most people, my husband included, just love the taste and smell of warm apples.
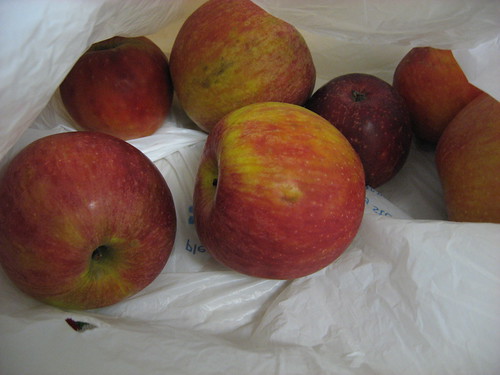
This weekend my in-laws gave us a bag of leftover apples. The apples are on their way to going bad, and they’re really too mealy to eat by themselves. But Morgan’s father offered that he thought they would be perfect for frying – and he was right!
Fried apples are difficult to get wrong, but you should decide how you want them before you start. I like a crispier apple, my husband likes mushy. I like my apples peeled and thinly sliced, and he prefers non-peeled chunks. We decided to experiment separately.
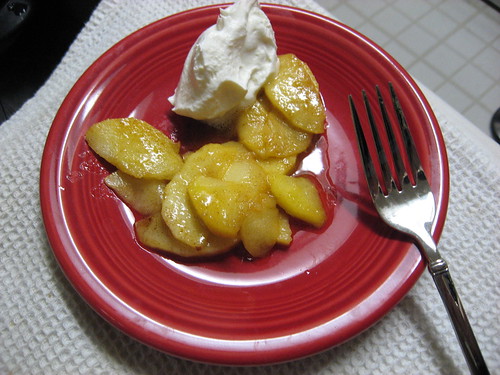
She said, Fried Apples (Crispy and Thin)
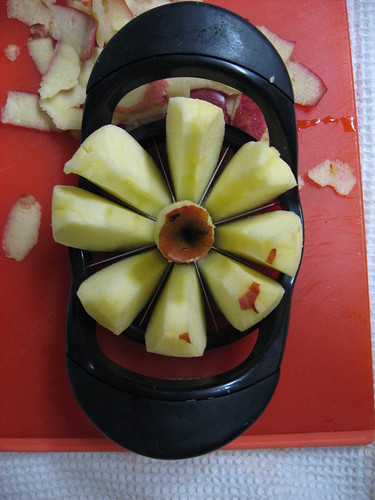
I chose a medium size apple, washed and peeled it. Use an apple slicer to cut it into 8 pieces, removing the core. Use a small knife to make thinner slices.
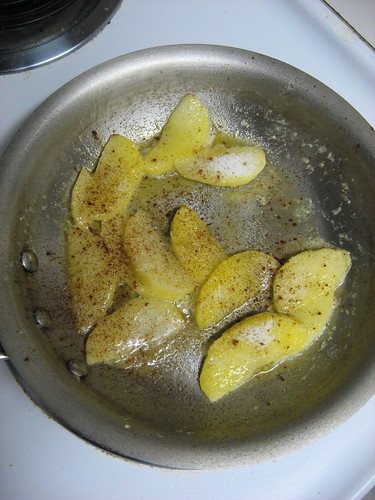
Heat up a small skillet and add 2 tablespoons of butter when hot. After about 30 seconds, add the apple slices to the pan. Cook for about 2 minutes, stirring and turning the slices once or twice.
Sprinkle a dash of cinnamon, nutmeg, and brown sugar over the apples. Stir one or twice to coat both sides of the apples.
Remove immediately from heat so that they’re still crispy. Serve with a side of fat-free cool whip.
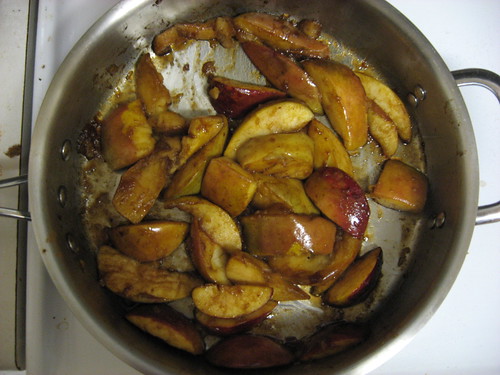
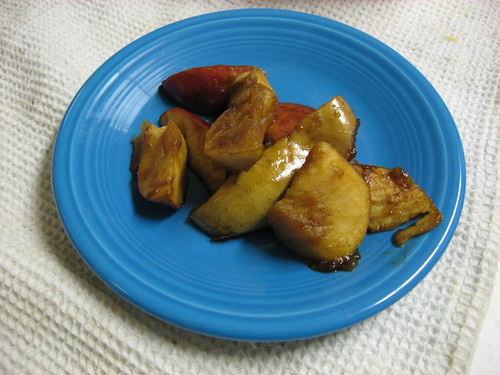
He said, Fried Apples (Mushy and Thick)
Morgan washed two medium size apples and used an apple slice to cut into 16 pieces total (skins on). He added butter to a hot skillet, and then included the apples.
After cooking for about 1 minute, add cinnamon, brown sugar (about 1/4 cup), nutmeg and allspice. Continue to cook the apples, stirring occasionally, for about 4-5 minutes.
Morgan served his fried apples without cool whip (a tragedy, it’s true).
Gold of a ripe oat straw, gold of a southwest moon, Canada thistle blue and flimmering larkspur blue, Tomatoes shining in the October sun with red hearts, — Carl Sandburg, “Cornhuskers,” Falltime (1918)
I never had zucchini bread until last fall, but it was love at first sight. Zucchini and pumpkin are brothers.
Though I’ve noticed many people seem to make bread to get rid of extra zucchini, I really just love the taste of zucchini bread! Despite being a summer squash it’s a perfect complement to fall recipes including butternut squash, stew, or turkey. And I appreciate any opportunity I have to combine cinnamon and cloves!
Everyone has their own taste as to how they like their quick bread – moist, nutty, rich, etc., but you want something that won’t dry out immediately. I have two recipes that I like to work with, the first one is a Betty Crocker zucchini bread (which can also easily serve as pumpkin bread by substituting 1 can of solid packed pumpkin for the zucchini), and the second one is a more adventurous recipe from 101 Cookbooks.
Moist and Aromatic Zucchini Bread – Because For Ghost Baker, Fall is just Beginning:
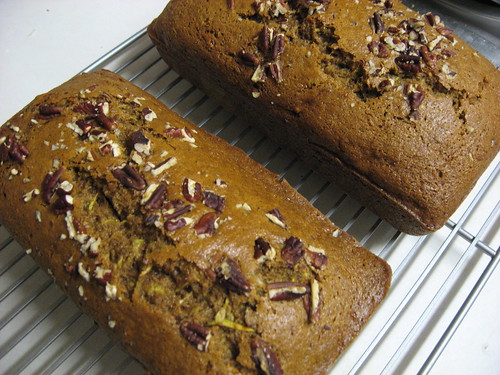
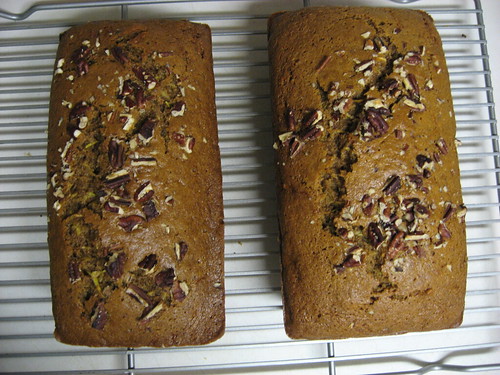
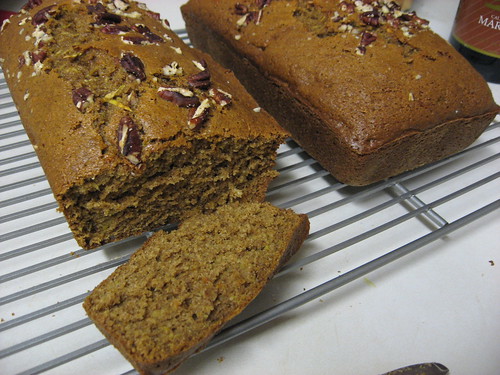
You can find thousands of versions online and in cookbooks of certain dishes, so when I find two that I like I try to see how I can combine them and what I can learn from each. The Betty Crocker recipe is great because of its similarity to pumpkin bread, using cinnamon and cloves, and it’s versatility. However the cook time is a little off. I baked my loaves for 60 minutes as suggested and they came out just a little too done. 101 Cookbooks suggests slightly undercooking the loaves because they will continue to cook while cooling after being taken out of the oven. As with anything you bake, it’s always a good idea to keep an eye on things towards the end of the cook time (If you click on our Flickr photo stream, the first photo in the zucchini bread series is from the time I used just the 101 Cookbooks recipe; you’ll see it comes out dense and the cook time was perfect).
I also like to grate my zucchini, including the skins, a little more finely. Make sure you drain them so that your loaves don’t get to watery. You want your batter to be relatively thick.
And if you think I enjoy Zucchini Bread, just wait for my Aunt Sue’s Pumpkin Bread recipe!
Move oven rack to the low position so that tops of pans will be in the center of the oven. Preheat your oven to 350 F. Grease two 8×4 inch loaf pans and sprinkle lightly with flour.
In a large bowl, combine zucchini, sugar, oil, vanilla and eggs and mix. Stir in remaining ingredients leaving out nuts. Once incorporated, add the nuts leaving out a handful to be sprinkled on at the end – do not overmix your batter.
Divide the batter evenly between the two pans. Use a rubber spatula to level the batter. Sprinkle remaining nuts on top of the batter.
Bake for approximately 40-45 minutes. Cool 10 minutes in the pans on a wire rack. A toothpick inserted in the center should come out clean.
Loosen sides of the loaves from the pans and remove from pans, placing the loaves top side up on a wire rack. Cool completely, about 2 hours, before wrapping tightly (if you wrap your loaves before they cool completely, you’ll get mold!). After wrapping, store at room temperature up to 4 days, or refrigerate up to 10 days.
Prep: 15-20 minutes, Bake: 45 minutes, Cool: 2 hours Makes 2 loaves, or about 24 slices each.
Next week my husband is beginning a new career that he’s very excited about, and he asked me to bake something to take in to his office as he says his good byes. I sent him a few recipes to choose from, including 101 Cookbooks’ Amazing Black Bean Brownie Recipe that I’ve been dying to try, but Morgan wasn’t having any of it. He said he wouldn’t want them to think, “Who’s this crazy guy bringing in brownies made of beans? We’re glad he’s leaving!”
Back to the drawing board!
I can’t really argue with him – office culture is not the most welcoming environment for exotic new recipes. In fact, people in general can be incredibly wary of trying new things (I should be looking in the mirror as I say this; I’m sure Morgan will be incredulous that I’m even suggesting that I’m outside this category).
I remember a number of birthday parties growing up where my mom would amass enough food to feed an army, an assortment of all my favorite things including an amazing sherbert punch. But the sherbert punch contained a lot of different ingredients along with scoops of rainbow-flavored sherbert that would float to the top – this was clearly not Kool-Aid. And so the punch would go untouched. Hmpf, kids!
But I just couldn’t bring myself to make a chocolate chip cookie or basic brownie recipe this week. This week is different! Historic and amazing things have happened in my home state of Virginia and across the country. Electricity is in the air. If anything is possible, then maybe Morgan’s office will accept something ever so slightly off the beaten path?
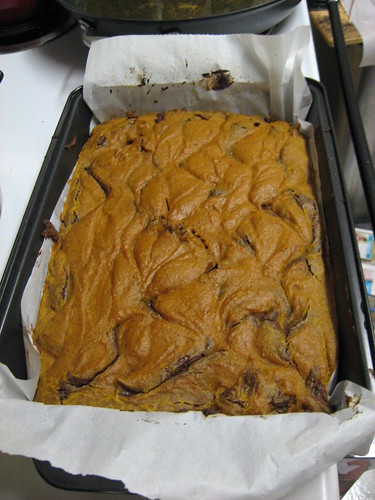
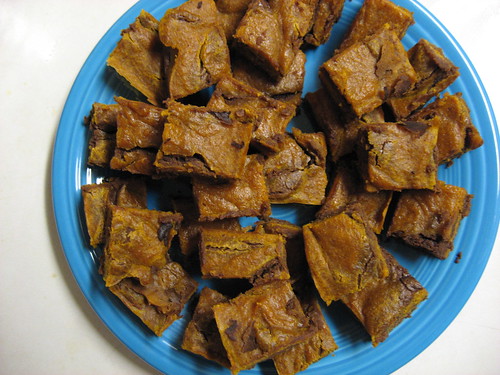
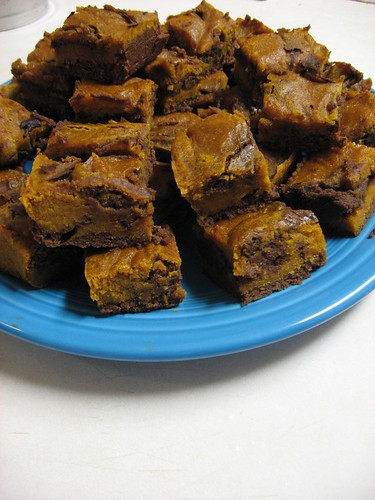
I kept coming back to two recipes: Chocolate-Pumpkin Brownies from RecipeGirl.com and Pumpkin Swirl Brownies from Smitten Kitchen (though I have to be honest, even I am almost pumpkined out for the season). The RecipeGirl brownies looked more chocolatey and had less pumpkin and pumpkin spices, and the Smitten Kitchen recipe looked great but Deb seemed a little unsatisfied. I decided to compromise and try to incorporate the best of both pumpkin brownie worlds.
Ghost Baker’s verdict and suggestions for an irresistible medley of chocolate and pumpkin:
Deb at Smitten Kitchen said she kept wishing her brownies were either all chocolate or all pumpkin and the RecipeGirl brownies looked more chocolate than pumpkin. I tried to change the recipes so that one taste might slightly overpower the other. Being that I love pumpkin, I added a whole can of pumpkin along with cloves and more nutmeg. Sometimes I think brownies run the risk of being a little bland, but adding the extra spices really kicked them up a bit. I liked them even better after they set overnight.
Deb also described her chocolate batter as being too thick. To smooth it out and make it more pourable I included 1/2 cup of cream cheese. It was certainly not as thin as the pumpkin batter, but it did help.
I also used a 13×9 pan to keep the brownies from being too enormous and thick.
Update – Success! Morgan said these brownies were scarfed down at his office in no time.
Preheat your oven to 350 degrees. Grease a 13×9 baking pan and line the bottom and two sides with parchment paper. Grease the paper as well.
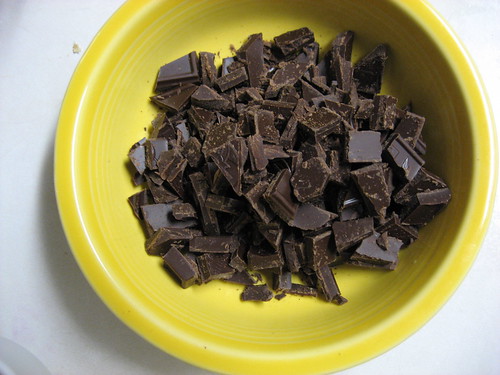
Melt chocolate and butter in a microwave safe bowl for 50 seconds; stir to incorporate fully.
Whisk together flour, baking powder, cayenne, and salt in a large bowl. Set aside. Combine sugar, eggs, and vanilla in the bowl of a stand mixer (or use a hand held mixer if you don’t have one). Beat until fluffy and pale yellow, approximately 3 minutes. Beat in flour mixture in two parts.
Pour half of your batter(about two cups) into a separate bowl and stir in the chocolate mixture. Add the softened cream cheese and stir unti combined.
In the other bowl, stir together pumpkin, oil, cinnamon, nutmeg and cloves.
Transfer half of your chocolate batter to the prepared pan and smooth and level with a rubber spatula. It will be relatively thin. Top with half of the pumpkin batter. Repeat with another layer of the chocolate batter followed by the last layer of pumpkin. You have to work relatively quickly to keep the batter from setting.
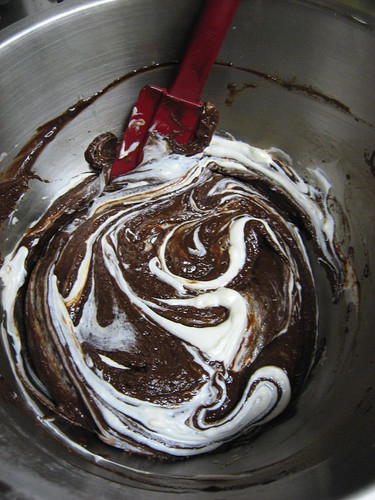
With a butter knife, marble your two batters – make sure you take the knife all the way down to the bottom of the pan.
Bake approximately 27-30 minutes. Let cool on wire rack, then remove brownies by lifting parchment paper and cool completely on your wire rack.
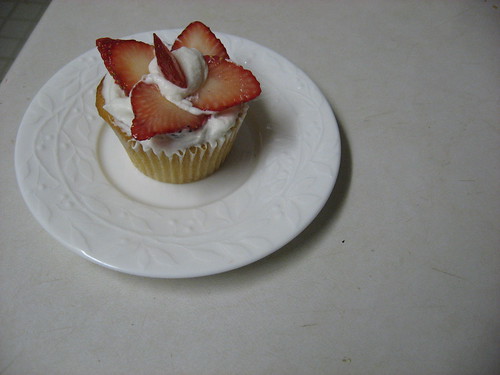
Happy Election Day! When I thought about what to cook on election day I kept thinking about hot wings and nachos. Unfortunately I seem to associate super bowl food with election food. Maybe it’s apt; I think it will be a battle! In any event I decided to settle for cupcakes.
There were probably several points in this recipe where I should have turned back and abandoned ship, but I had a dream of red, white and blue patriotic cupcakes in honor of election day. I wanted white cake, white icing, and a splash of colorful strawberries and blueberries.
While searching for a white cake recipe in my cookbooks, I was surprised to find that I actually owned a book completely about cupcakes called Cupcakes: From the Cake Mix Doctor by Anne Byrn. I knew that using this book would go against one of Edwin’s core values (thou shalt not use box cake mix), but because I was in a pinch for time and I enjoy thwarting Edwin, I went for it.
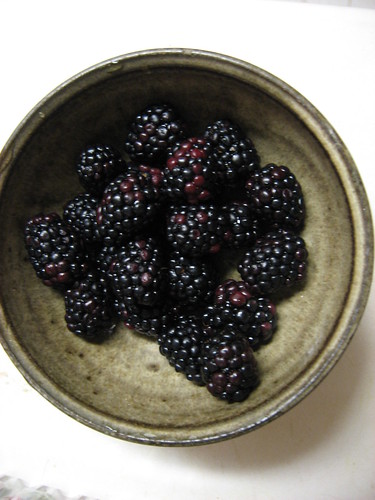
Flipping through the first few chapters I found some neat suggestions including 5 ways to fill a cupcake. One of the suggestions is to place a large berry on top of the batter before baking – fitting nicely with my theme of berries and white cake. I also wanted to trim at least a little fat from this recipe, so I decided to top off the cakes with a dollop of fat free cool whip instead of buttercream frosting – something like mini strawberry and blueberry shortcakes. Unfortunately for me the grocery store had other ideas, and they weren’t carrying very impressive blueberries. But blackberries are just as good, if not better, right?
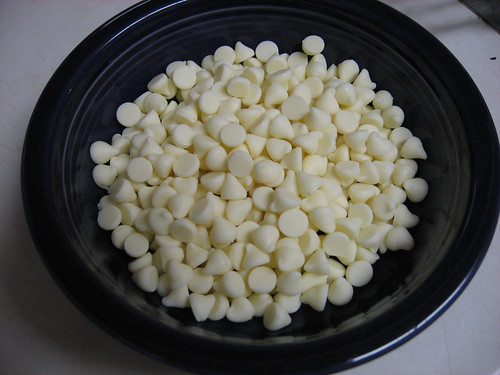
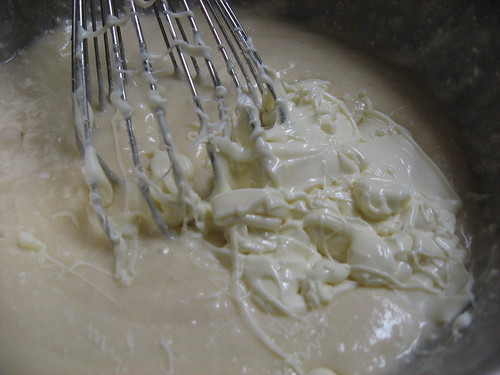
In addition to box cake mix (sorry, Edwin), the batter called for other ingredients such as milk, oil, eggs, vanilla, and white chocolate chips. The white chocolate chips sounded amazing to me as an addition to the batter, but they gave me trouble. I had to work quickly and make sure not to let the melted white chocolate sit, because after only a minute the smooth mixture hardened into large chunks.
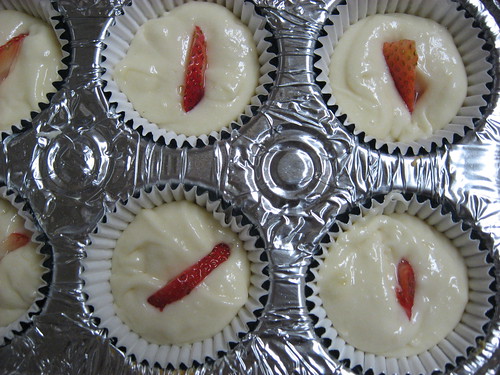
Adding a berry to the top of the batter before baking was also problematic. I tried it a few different ways, sometimes hiding a thin slice of strawberry or a blackberry inside the batter and sometimes leaving it on top. The cupcakes with strawberry slices had to cook for an even longer time than the blackberry cakes – approximately 22 minutes. The cook time for all of the cupcakes was a little tricky, and on my very first batch a few of the cakes just completely sunk in the middle.
Ghost Baker’s Tips to Avoid Trouble at the Polls:
Work quickly to avoid having your white chocolate harden and ruin your batter. Make sure it’s fully incorporated into the batter. If you’d like to add a berry filling, stick to either small blueberries or blackberries or just a half berry. Set it gently on top of the leveled batter right before it goes in the oven. Adjust your cook time as needed, but make sure the area around the berry slightly springs back when you touch it lightly after taking it out of the oven. Make sure there are no pockets of uncooked batter.
24 Paper Liners for cupcake pans 1 cup white chocolate chips 1 package white cake mix, extra moist 1 cup milk 1/3 cup vegetable oil 1 large egg 3 large egg whites 1 teaspoon vanilla extract 1 cup blueberries or blackberries (approximately) 1 container of cool whip for frosting
Preheat the oven to 350 and line°F and line your cupcake pans. Set aside.
Place the white chocolate chips in a microwave safe bowl. Microwave on high for 50 seconds. Remove the bowl from the microwave and stir with a rubber spatula until the chips are smooth. Set aside.
Mix cake mix, milk, oil, egg, egg whites, vanilla, and melted white chocolate in a large mixing bowl. Blend with a stand mixer or electric mixer on low for 1 minute, then medium for 2 more minutes.
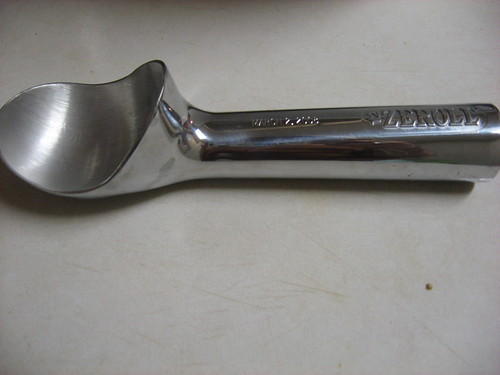
Using an ice cream scoop or 1/4 measuring cup, scoop batter into your lined cups, filling it approximately two thirds of the way. Level your mix with a spoon. Lay a small berry or half a berry in the center of each cake; do not push down.
Bake approximately 22 minutes, checking after 20 minutes to make sure your cakes don’t burn. They should be light golden brown and slightly firm to the touch. The batter surrounding the berry should not be runny.
Cool for 15 minutes, then top with a dollop of cool whip and decorate with berries as desired.
My husband and I are journeying to Chicago for Halloween this year (farther west than I’ve ever been, I’ll embarrassingly admit). Last year we hosted a very successful party at our apartment, but because our lives have been a little chaotic for the last few months, we thought a change of scenery might do us some good this year.
A bunch of us are converging on a friend’s apartment, and of course I can’t show up empty-handed. Kudos to the other half of DinnerCakes, Edwin, for suggesting this outstanding recipe from Sunday Nite Dinner!
Hopefully these cookies survive airport security and are well-received by my friend. And, Kari, if you’re reading this post right now, “Surprise, cookies!”
Sweet, hearty, crunchy yet chewy, a buttery cookie smell that takes you back to elementary school, a hint of fruit – these cookies are a breath of fresh air. They call for a flurry of ingredients, but even just measuring them all and getting them together was absolutely heavenly!
Ghost Baker’s verdict and salty suggestions:
You must make these cookies; how’s that for a suggestion? I really didn’t change anything about the recipe except, following a note at the top, I increased the salt quantity from 1/2 teaspoon to 3/4.
Because these cookies already include, well, everything, I wouldn’t add any more ingredients. If you like an even more peanut buttery taste (the peanut butter as it stands is subtle, I like it) then swap the measurements of the chocolate chips and peanut butter chips. You could also exchange the walnuts for pecans or, if you really just have to go wild, swap in craisins instead of raisins.
1 1/2 cups low fat granola 1 cup golden raisins 1 cup old fashioned rolled oats 1 1/2 cups chocolate chips (dark or semi-sweet work well) 1 cup peanut butter chips 1 cup chopped walnuts 1 2/3 cups all-purpose flour 1 teaspoon baking soda 1 teaspoon baking powder 3/4 teaspoon salt 1/2 cup packed dark brown sugar 1/2 cup granulated sugar 1 cup (2 sticks) unsalted butter, cut into small pieces (room temperature) 2 large eggs 1 teaspoon vanilla extract
Preheat your oven to 350°F.
In a large bowl, toss granola, raisins, rolled oats, chocolate chips, peanut butter chips and walnuts; set aside.
In a medium bowl, sift flour, baking soda, baking powder and salt. Then whisk the ingredients together until combined.
In your stand mixer bowl (or another large bowl if you don’t have a stand mixer), combine the granulated and dark brown sugar. Add a few pieces of butter at a time and beat until it’s thick and smooth. Add vanilla and beat in the eggs, one at time. Fold in your flour mixture and beat until fully incorporated. Add the granola, raisins and chips and mix well together by hand (you would probably break your wooden spoon even if you tried).
Using a tablespoon, scoop a hefty 2 tablespoons of dough at a time and roll into 2-inch balls. Place the balls onto baking sheets lined with parchment paper. Space your dough balls approximately 2 inches apart.
Bake until the cookie edges turn golden brown, about 15 minutes. Cool your cookies on the baking sheets for 3 minutes, then transfer onto a wire rack (your mouth works, too). Cool for about 30 minutes, then store in an air-tight container.
I grew up in a house of seafood lovers and fishermen, spending summers at the Jersey Shore. I watched my dad catch, clean and cook fish. I set crab traps in the lagoon using hotdogs and fish heads (crabs go nuts for that stuff!). But, I never really learned how to cook fish myself.
Other than my parents, I can’t think of anyone I know who frequently cooks fish. Why? The American Heart Association recommends eating fish at least two times per week.
When I asked some of my friends why they don’t cook fish, I heard things ranging from, “seems hard” to “I never think to.” People seem genuinely stymied by the idea of cooking fish! After searching for some recipes, I almost was too – page after page of recipes for fish tacos and fish casserole almost made me lose my appetite forever.
Ghost Baker’s demystification of fish:
If you want the best, always cook fresh fish. The times I’ve purchased frozen fillets they have never dethawed into anything special. Put your best foot forward and buy your fish the same day that you cook it.
Fresh fish should never smell “fishy;” that’s a sure sign that it’s been sitting out. If you get a whiff of something at the grocery store that is overpoweringly fishy, just keep walking.
When you look at the fillet, make sure any liquid on it is clear and not cloudy. It shouldn’t look faded or dull.
Today I purchased a grouper fillet (maybe not the most attractive fish in the sea, but he’s tasty!). I coated the fillet with an egg (beaten), and lightly covered it with breadcrumbs. I used salt, pepper, a little bit of Old Bay and a little bit of Mrs. Dash to season the fillet. A good fillet doesn’t need to be doused in butter or deep fried – some light seasoning makes it very flavorful and preserves all those good vitamins.
I pan fried my fillet using only a tablespoon or two of oil on low heat. The cook time depends on the thickness of your fillet, mine was relatively thin and took about 8 minutes. You can tell your fish is done when the fillet is golden brown and the meat flakes off easily when tested with a fork.
My husband prepared side dishes of wild rice and green beans. In the span of 25 minutes (including both cook and prep time) we had a healthy and delicious dinner ready to eat! Cooking with fish isn’t messy – there’s no beef blood to deal with or salmonella chicken scares. The biggest “hassle” is simply going to the store to buy it fresh. It cooks quickly, requires minimal prep, and the list of health benefits of eating fish high in Omega 3 fatty acids only continues to grow!
For someone that lists cooking and baking as her two favorite hobbies, I’m probably not as much of a food snob as I should be. I love going out to a fancy dinner, but when I’m cooking, I’m mostly interested in something that’s healthy and relatively quick.
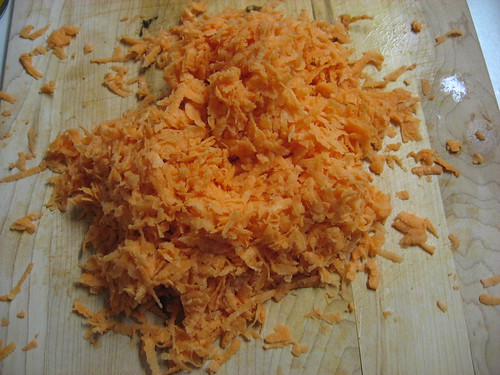
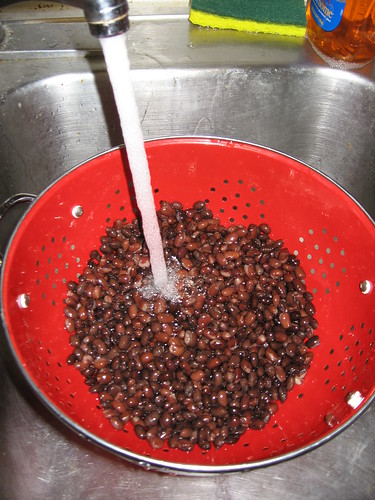
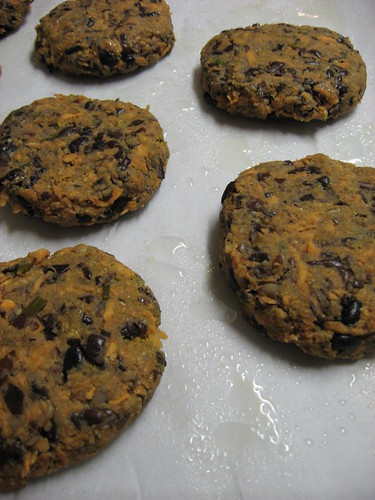
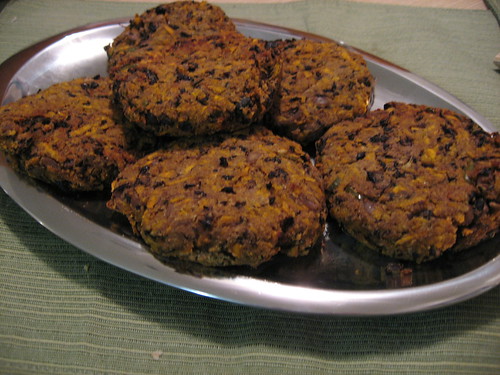
Last night we enjoyed Spicy Black-Bean Cakes (hey, they’re DINNERCAKES!). These crispy bean cakes are broiled rather than pan-fried, and the recipe doesn’t use much oil (click here for more information about using the broiler on your oven). My only complaint is that the prep time lies, lies, lies! If you can grate a large sweet potato, finely chop and thinly slice your ingredients, drain, rinse and mash two cans of black beans, and flatten 8 patties in 20 minutes, then my only explanation is that your kitchen is magical like Fantasia.
Ghost Baker’s verdict and serving suggestions:
I’m a garlic lover, so I upped the recipe to 8 garlic cloves in my garlic press instead of 6 (just make sure you have a toothbrush handy for after dinner). If you like your food hot, don’t be afraid to add a 1/4 teaspoon of cayenne, though these cakes are already quite spicy as is.
The recipe calls for a lime sour cream sauce to pour over the cakes, but in the interest of cutting down on fat content (and because I don’t love sour cream to begin with), I just cut this part out. I served these cakes over a leafy salad with a side of corn.
Spicy Black-Bean Cakes Makes 8 cakes, Prep time around 45 minutes, Cook time about 15 minutes total adapted from Every Food: Great Food Fast
2 tablespoons olive oil 4 scallions, thinly sliced 8 garlic cloves, pressed 2 jalapeno chiles, finely chopped (you can remove the ribs and seeds if you like less heat) 1 tablespoon ground cumin 1/4 teaspoon of cayenne (optional) 2 cans (15 oz cans) black beans, drained and rinsed Coarse salt and fresh ground pepper 1 large sweet potato, peeled and coarsely grated (about 2 cups, be prepared for tired arms!) 1 large egg, lightly beaten1/2 cup plain dried breadcrumbs
In a small skillet over medium heat, warm 1 tablespoon of the oil. Cook scallions until softened (about 1 minute).
Add the garlic, jalapeno, cumin and optional cayenne – cook about 30 seconds or until fragrant, stirring continuously. You may want to make sure you have some ventilation – all the spices combined on the stove got to me a little. Transfer contents of the skillet to a large bowl.
Add the rinsed and drained beans to the bowl. Mash beans with a potato masher or fork, leaving about 1/4 of the beans whole. Season with salt and pepper.
Move an oven rack to the top of the oven and heat the broiler, leaving the oven door slightly open.
Fold in the grated sweet potato, egg and breadcrumbs. Divide into 8 balls of equal size, then flatten into patties.
Cover a baking sheet with parchment paper, and brush the paper with the remaining tablespoon of oil. Place the patties on the sheet about 1/2 inch apart.
Broil on the top rack until golden brown, about 10 minutes. With a thin metal spatula, carefully turn the cakes after 10 minutes. Broil for another 3 minutes, then serve!
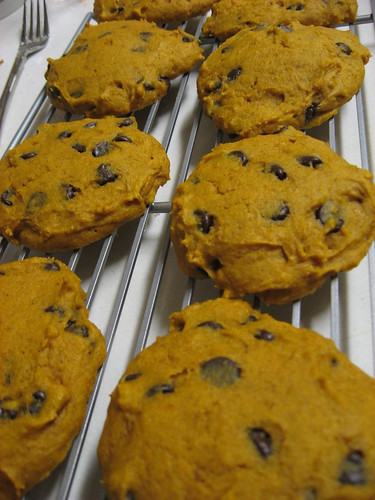
Part of the key is flattening and smoothing the dough with a thin metal spatula before baking. At first I thought this step seemed a little odd to me, but having a flatter cookie (still very soft and cake-like) came out so much tastier than the poofy, muffin-like variety.
Also this recipe called for more of your typical pumpkin pie spices such as nutmeg and cloves. It tastes exactly the way delicious pumpkin desserts were meant to!
Ghost Baker’s verdict and pumpkin-packed suggestions:
If you like a caramel taste to your pumpkin cookies, then butterscotch chips would be great. I knew from my previous pumpkin cookie attempt that I wanted more chocolate (who doesn’t?). Instead of just 1 cup of chocolate chips, I added an extra 1/2 cup and used bittersweet chocolate chips. I also used a whole can of pumpkin instead of a half can.
Pumpkin Chocolate Chip Cookies adapted from Joy the Baker
2 cups all-purpose flour 1 1/2 teaspoons baking powder 1 teaspoon baking soda 1/2 teaspoon salt 1 teaspoon ground cinnamon 1/2 teaspoon nutmeg 1/2 teaspoon ground cloves 2 eggs 1 cup sugar 1/2 cup canola or corn oil 1 can pumpkin 1 teaspoon vanilla extract 1 1/2 cups chocolate chips (can also substitute or mix with butterscotch chips, white chocolate chips, etc.)
Preheat your oven to 325 degrees. Prepare two baking sheets with buttered parchment paper.
Combine flour, baking powder, baking soda, salt, cinnamon, nutmeg and cloves in a medium bowl. Set aside.
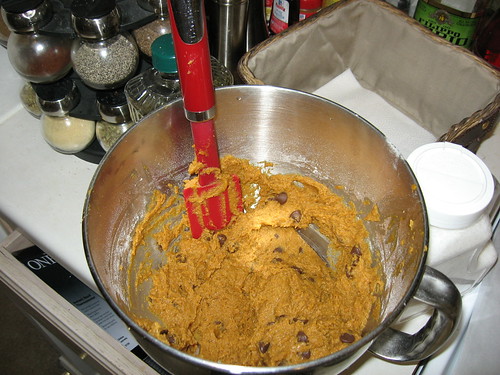
In a large bowl (or stand mixer), lightly beat eggs and sugar until smooth (about 1 minute). On low, add the oil, pumpkin, and vanilla until blended. Remove bowl from stand mixer and fold in the flour mixture until fully incorporated. Stir in chips.
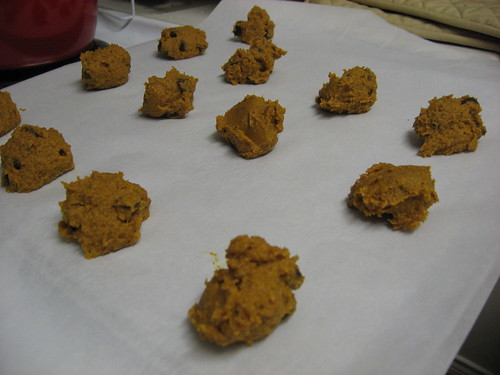
Using an ice cream scoop or 1/4 measuring cup, scoop dough onto baking sheets, spacing 2 inches apart.
Don’t forget to use a thin metal spatula to smooth and flatten the dough!
Bake cookies one sheet at a time for about 16 minutes – the top should feel a little firm and a toothpick or fork inserted in the center will come out dry. Let the cookies sit for about 5 minutes before removing to a wire rack.
Cool the cookies completely before storing in an air tight container. Try not to eat them all in one sitting! Makes about 2 dozen cookies.
Rachel Ray is supposed to be the cooking icon of the young generation, but I’m still on the fence about many of her recipes. I was given a copy of 2, 4, 6, 8: Great Meals for Couples or Crowds as a Christmas present last year and I’ve perused 30 Minute Meals, but sometimes I think that the recipes are a little needlessly complicated. At least, the recipes I’ve tried in 30 Minute Meals have never been completed in just 30 minutes – but I’d love feedback from others!
If someone bought me 2, 4, 6, 8: Great Meals for Couples or Crowds as a beginner book, I’d probably run away and never look back! From what I’ve gathered in conversations with friends over the years, I think a lot of people would like to cook and get more comfortable in the kitchen, but they’re intimidated. They don’t know where to start.
Don’t be afraid to start small! I like recommending Kraft Foods – they have a lot of very simple and quick recipes. They used to offer a free quarterly recipe book and free calendar, but now I believe they’ve switched to online newsletters only. The tiny recipe books at the grocery store checkout counters are also a great way to get your feet wet.
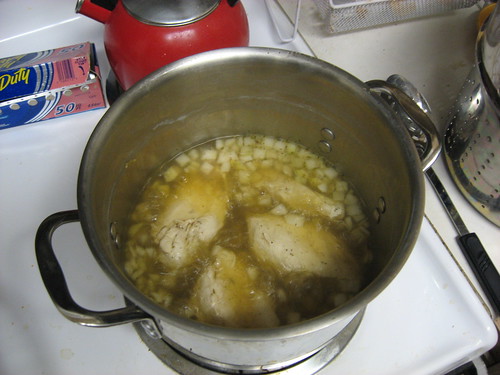
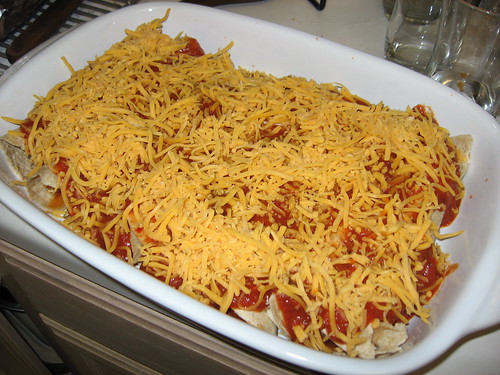
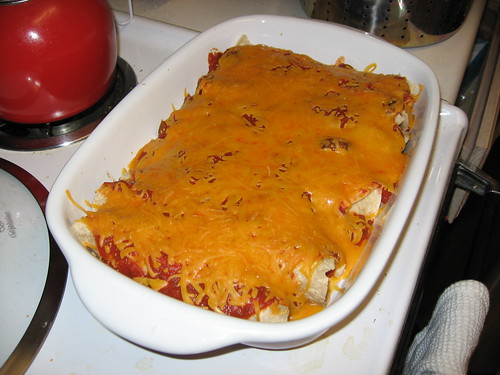
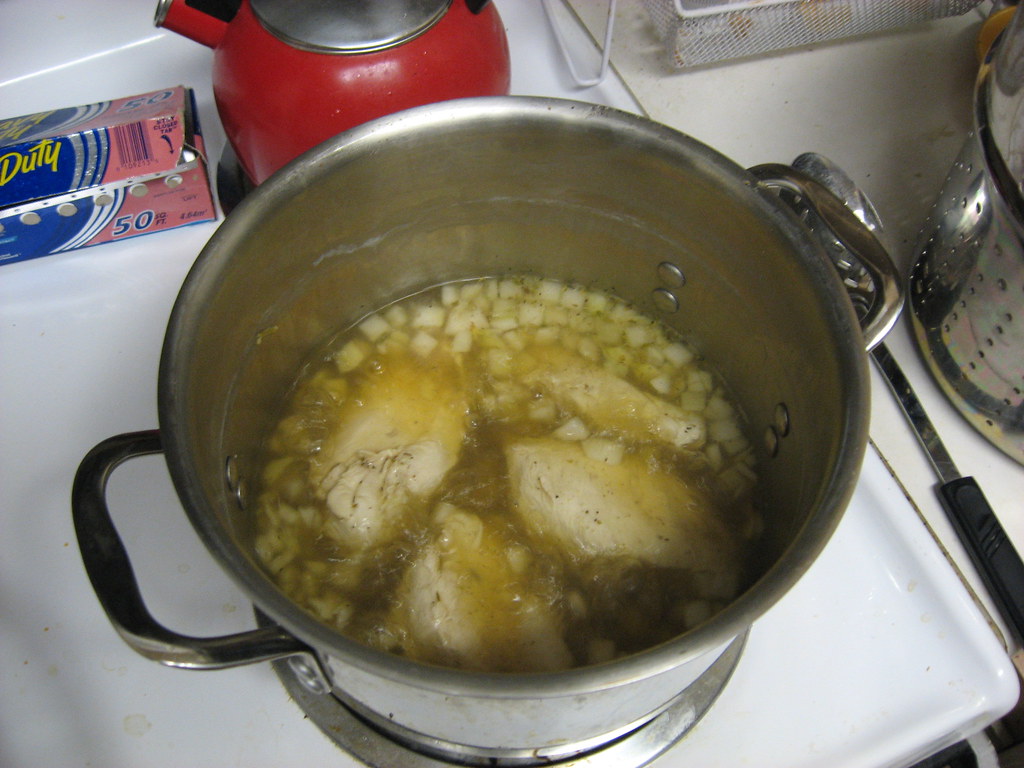
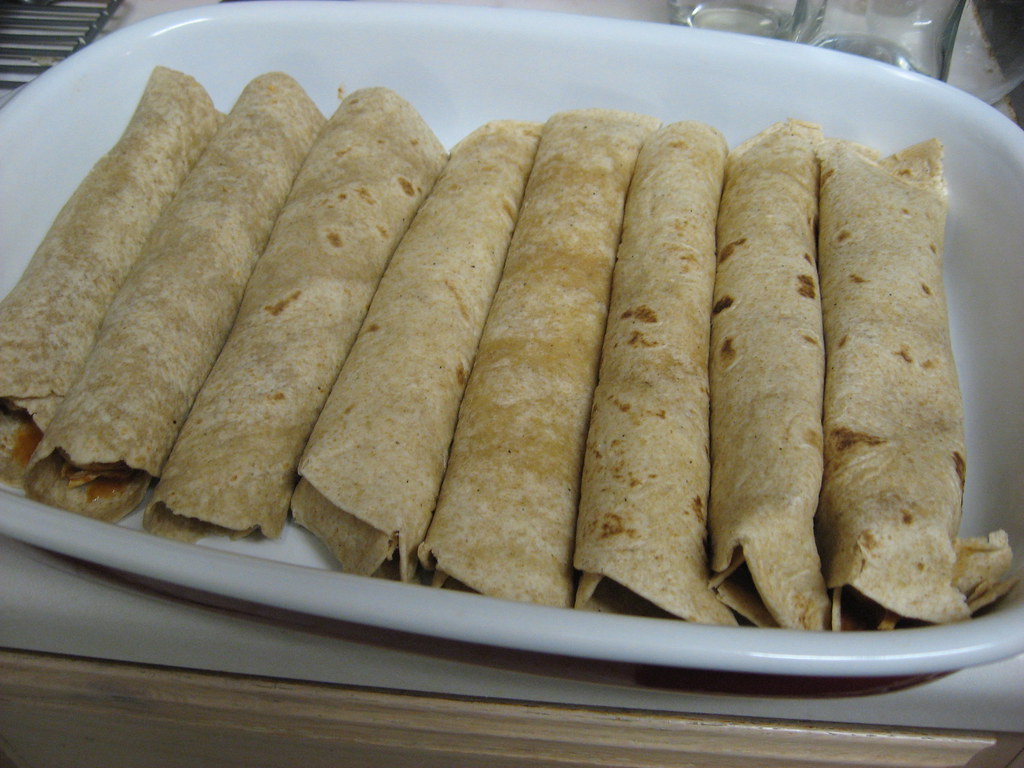
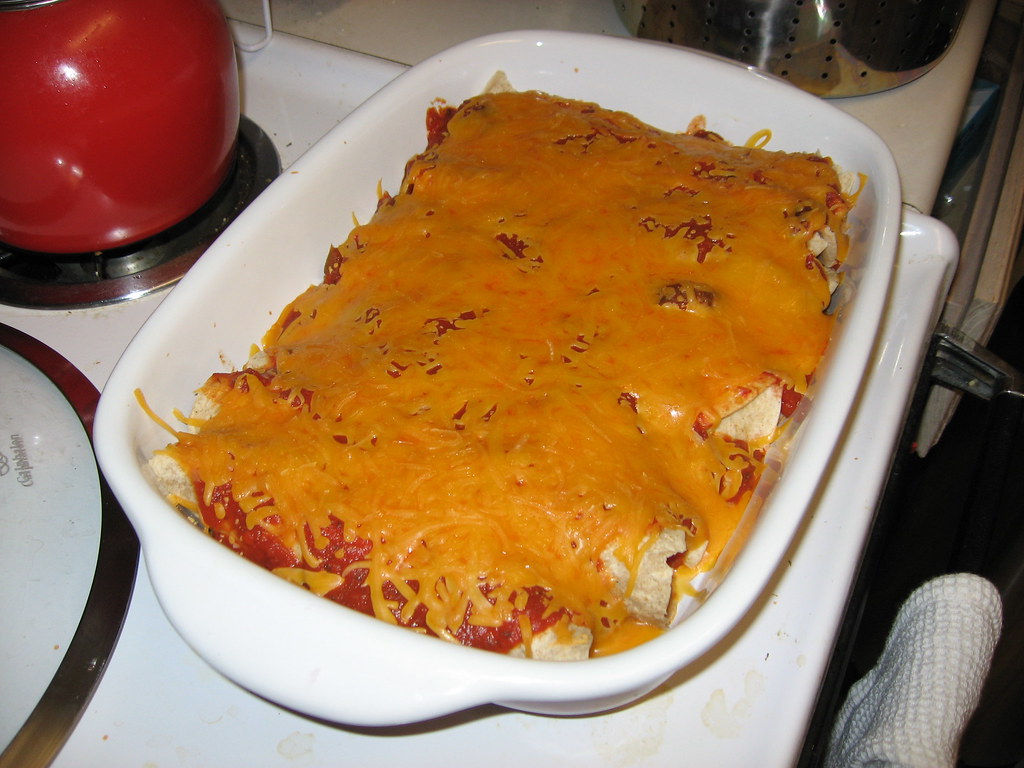
But Rachel Ray doesn’t have to be scary to beginner cooks! This week I tried Rachel Ray’s Easy Chicken Enchiladas recipe. I actually don’t think I’d ever poached chicken before (as the recipe calls for), and I found that it came out a little rubbery or, to use some rather gross imagery, sweaty tasting. The overall flavor of the enchiladas was good; the cinnamon made it taste almost like a simplified and less spicy mole sauce.
Ghost Baker’s verdict and simplifying suggestions:
Let’s lock in our flavor and spices while not making this recipe needlessly complicated. If you have time, marinate your chicken with some of the sauce first. Instead of poaching the chicken, give it a juicier texture by grilling it and then shredding. If you like more punch in your cheese (I do!), swap the Monterey Jack for a sharp yellow cheddar. Don’t be afraid to go heavy on the spices if you like it hot!
Filling: 4 pieces boneless skinless chicken breast, 6 to 8 ounces 2 tablespoons tomato paste 1 teaspoon chili powder, 1/3 palm full 1 teaspoon ground cumin Salt
Sauce: 2 cups tomato sauce 2 teaspoons hot cayenne pepper sauce, several drops 1/4 teaspoon ground cinnamon, 2 pinches 1 teaspoon chili powder 2 1/2 cups Monterey Jack shredded cheese, available on dairy aisle
Directions:
If you can, marinade chicken for at least one hour with some of the sauce.
Preheat the oven to 275 degrees F.
Wrap corn tortillas in foil and warm in the oven. Grill chicken for 10 minutes or until cooked through (bone white). Remove chicken breasts to a bowl and shred with 2 forks. Add tomato paste, spices and salt and work through the chicken using the forks.
Combine all sauce ingredients and heat through, keeping warm until needed.
Remove tortillas from oven and switch broiler on high.
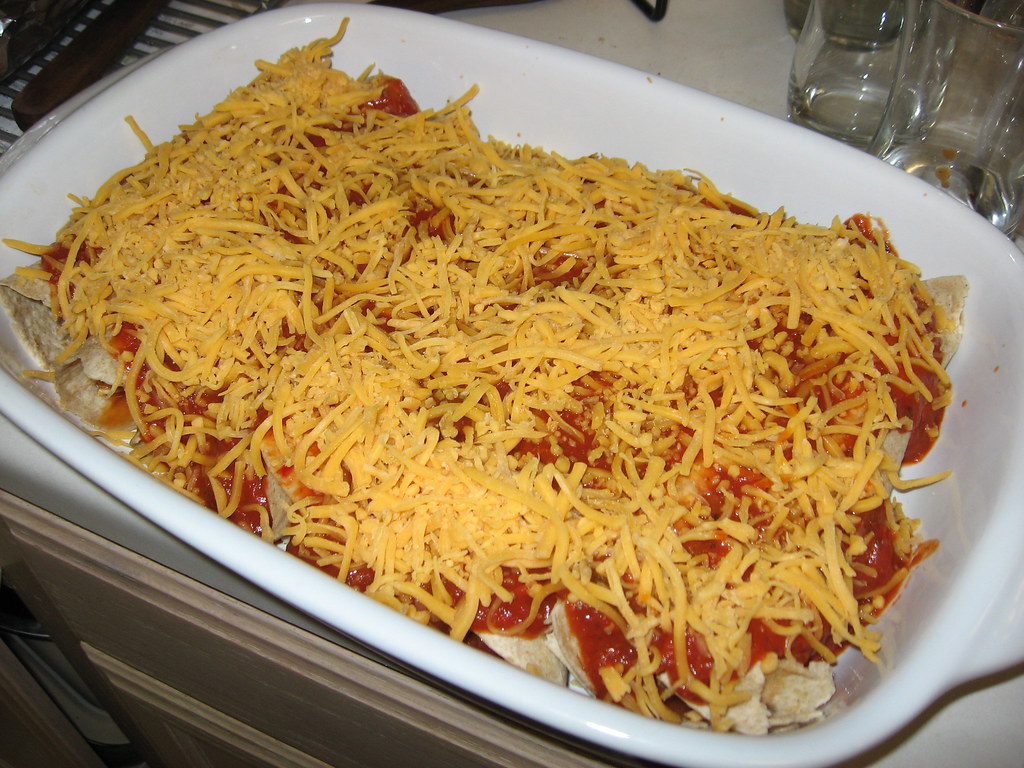
Pile chicken mixture into warm corn tortillas and roll. Line casserole or baking dish with enchiladas, seam side down. Pour hot tomato sauce over the chicken enchiladas and top with sharp yellow cheddar cheese. Place in enchiladas in oven 6 inches from broiler and broil 5 minutes to melt cheese and set enchiladas. Enjoy!
Welcome to DINNERCAKES – the blog that brings you fun and fresh recipes from oven to stove top, hosted by Edwin Bachetti and Heather (Ghost Baker)!
It’s a beautiful fall day here in Arlington, Virginia, and I can’t think of a better way to kick off this blog than with something not only completely appropriate for the season, but also that contains my favorite ingredient – pumpkin!
My co-host may try to fight it, but October is all about pumpkin. I’m convinced he just hasn’t experienced the right kind of pumpkin confection yet, and it’s my duty to change all that!
Why do we, minus Edwin of course, love pumpkin? Is it the imagery it brings to mind – scrambling around the pumpkin patch with mom and dad looking for that perfect pumpkin to take home or the smell of dried leaves and their extraordinary palette of colors? Pumpkin alone isn’t exactly bland, but it’s not overpowering. It’s an excellent compliment to so many meals in the form of pumpkin ravioli, pumpkin enchiladas, or as a dessert. Pumpkin, done right, can take on so many forms.
My brother and I are well-known in the family as being able to finish off a whole pumpkin pie at Thanksgiving by ourselves (I wish I was joking). My mouth waters every time I come across a new pumpkin recipe.
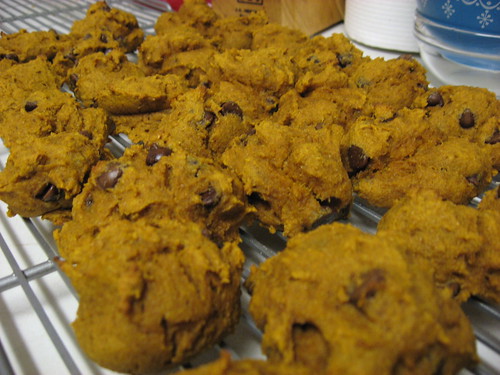
I gobbled one down the minute they came out of the oven and I thought, “good, but not GREAT.”
Ghost Baker’s verdict and spicey suggestions:
This Pumpkin Chocolate Chip Cookie recipe was, just as Cookie Madness writes, “super-cakey.” They came out almost like little muffins, except without the delicious muffin top. The overpowering flavor seemed to be the 2 cups of flour – it needs some zip!
Instead of one cup of chocolate chips, try adding either an additional 1/2 cup or splitting the total amount with chocolate chips and butterscotch chips.
Also, what is a pumpkin dessert without the pumpkin pie spice? Spice these cookies up by adding 1/4 tsp of nutmeg, 1/4 tsp of cloves, and 1/4 tsp of allspice.
The recipe without these suggestions is a great treat to bring to the office, I know my husband says his office scarfed them down, but if you really want to pack in some punch some additional spices and chips are a must!
1 cup canned pumpkin 1 large egg 1 cup granulated sugar 6 tablespoons vegetable oil 1 teaspoon vanilla 1 teaspoon cinnamon 1/4 teaspoon nutmeg 1/4 teaspoon cloves 1/4 teaspoon allspice 1/2 teaspoon kosher salt 1/2 teaspoon baking soda 1 1/2 teaspoons double-acting baking powder 2 cups all purpose flour or white whole wheat flour (9 oz) 1 cup semi-sweet chocolate chips 1/2 cup butterscotch chips
Preheat oven to 375 degrees F.
Beat pumpkin, egg, sugar, oil, vanilla, cinnamon, salt, baking soda and baking powder together in a mixing bowl. Fold in the flour and stir just until mixed. Stir in chocolate and butterscotch chips.
Using a tablespoon measure or ice cream scoop, drop onto parchment lined cookie sheets 1-2 inches apart (don’t worry, they don’t spread). Bake at 375º for 13 to 15 minutes.
Remove from tray and begin eating immediately! I’ve found these cookies are best while warm.
Makes about 32 cookies.
Comments Off on Pumpkin Chocolate Chip Cookies, so they say