So long, farewell, Auf wiedersehen, good night (for now!)

Dear DinnerCakes readers,

We have thoroughly enjoyed our culinary adventures with you over the last 2.75 years, but at this point we think it’s time to turn in our potholders, at least for now.

We set out with a few goals in mind – to share our passion for cooking and baking, to provide tips and tricks we’ve learned along the way, to improve our cooking, baking and photography skills and, most importantly, to encourage busy professionals that you can (really!) find time to cook a healthy dinner or bring in the occasional cake to work. To continue to grow, we think we need the flexibility to hit the (cook)books and try some things that probably aren’t blog-ready just yet.

We hope we’ll be back (and better than ever?) in some form down the road. If you’d like to stay tuned for changes, simply stay subscribed to our feed.

Thanks for all the good times & great comments. Keep cookin’!
Edwin & Heather

00408

Photo Contest!

Remember this photo of Mr. Biscuit? I entered it in a photo contest over at A Nerd Like Me‘s blog.

Would you like to vote for us??

Then you can check out previous appearances of Biscuit on DinnerCakes here!

Food Photography: Wedding Cake Part 2!

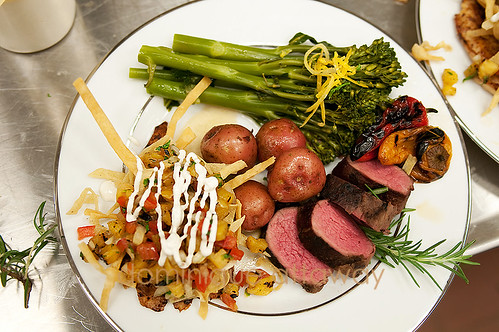
I found some great photos that the professional photographer, Dominique Attaway, took at the wedding I mentioned yesterday. I think these food shots are terrific.

Sadness is comparing photos you took with those of a professional photographer – I’ll spare you mine and just share hers!

sald 20 south
Albemarle Salad with baby greens, Granny Smith apples, grapes, candied walnuts, cheese and Honey Lavender Vinaigrette.

20 south catering
Grilled Bistro Tenderloin, “Deconstructed” Fish Tacos, Roasted New Potatoes and Broccolini.

Catering by 20 South.

Food Photography: Wedding Cake!

I was at a wedding this past Saturday at Sweely Estate Winery in Madison, Virginia. Just try to tell me that this isn’t a GORGEOUS cake!

cake

Vanilla buttercream filled with chocolate and deliciousness.

Sauce As A Condiment – Broccoli Cream Sauce

Hello everyone! Remember me? It’s been a summer of activity so far. Many trips, many dependencies, many stories. Not a whole lot of cooking, I must confess. Besides the usual heat that does its best to discourage culinary experimentation, times have just been packed. But we are not dead; not by a long shot!

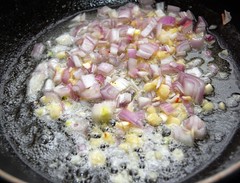
Shallots and Garlic Cooking Shallots and Garlic

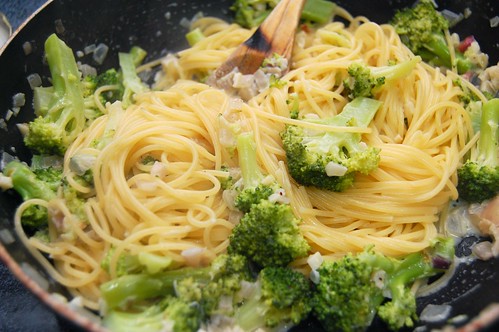
Broccoli is, by far, my favorite vegetables (don’t ask Heather what hers is. one cannot have one if one hates vegetables) and often stars in last-minute dinner dishes, as have been the trend as of late. This pasta dish is in the traditional Italian style, meaning this isn’t some spaghetti with gobs and gobs of sauce on it. The sauce, while prominent in flavor and texture, is a condiment to the delicious pasta. In hindsight, I would go with a larger noodle; perhaps farfelle (bow ties) or conchiglie (shells). The broccoli separate rather easily from the strands of thin spaghetti I used.

Pasta with Broccoli Cream Sauce

Broccoli Cream Sauce
2 tablespoons butter
2 tablespoons olive oil
1 large shallot; chopped
2 large garlic cloves; minced
5 tablespoons cream
1 head of broccoli; chopped into small florets
salt and pepper

Steam your broccoli for about five minutes and set aside. You can also parboil if you’d like.

Melt the butter with the oil in a large pan, then cook your shallot and garlic in medium to medium-high heat until softened; about 4 minutes. Reduce to medium, add your cream and cook for a few minutes. Be sure to stir semi-constantly to prevent burning. Add the broccoli along with salt and pepper to taste and stir to combine. Add your pasta (or vice versa), serve and enjoy.

World Cup Food

Just in time – keep the World Cup spirit going longer with world flags made out of food.

Yeah, it’s kinda like that..

Food Photography: Birthday Fun

Edwin and I have been pretty busy and fell off the face of the earth for a while. It happens!

Today I’m celebrating my birthday, and my mom brought up a hummingbird cake, complete with hummingbirds. Hope you enjoy and are having a great summer so far!

DSC_1086

DSC_1085

DSC_1088

And a birthday dog in a blue ribbon. Hello, Biscuit.

birthdaydog

Mmm, Cold Pasta – Sesame Chili Soba Noodles

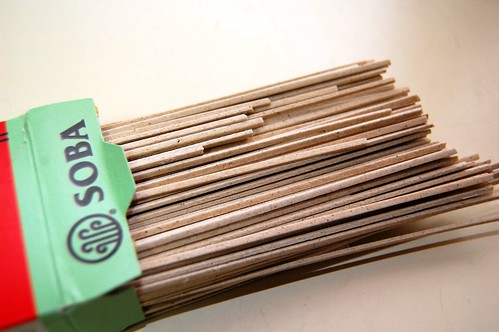
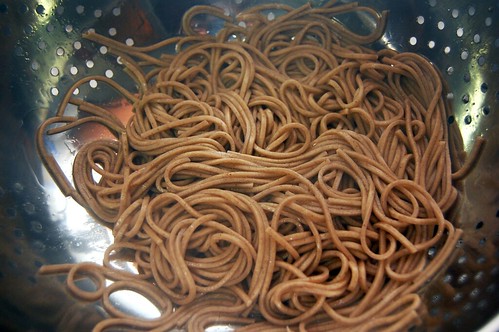
Dry Soba Noodles

So what does one accompany some tofu stir fry with? Rice is the go-to choice, of course, but that gets boring after a while. Let’s try something different. Let’s try soba noodles.

Drained Soba Noodles

Soba’s a bit different from your regular pasta and is instead made from buckwheat (you give scientists enough time they’ll make noodles out of anything) and is used in a lot of cold dishes. I went the classic sesame and soy route, with a bit of spice. Try it out!

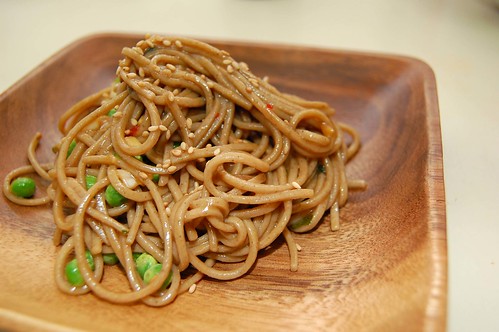
Sesame Chili Soba Noodles

Sesame Chili Soba Noodles
I ended up using 1 – 1 1/2 teaspoon of hot bean paste rather than chili saucebecause I was out, but I think both would work fine.

8oz dried soba noodles
4 tablespoons tamari
1 tablespoon sweet chili sauce
1 teaspoon ginger
1 clove garlic; minced
toasted sesame seeds (optional)

Boil the noodles in salted water per the instructions; probably 6-8 minutes. While the noodles are boiling mix all the remaining ingredients but the sesame seeds. When the noodles are ready, strain, transfer to a bowl and mix together the sauce one spoonful at a time until you get your desired sauciness. Serve (hot or cold), sprinkle with sesame seeds and enjoy.

On Searing Tofu

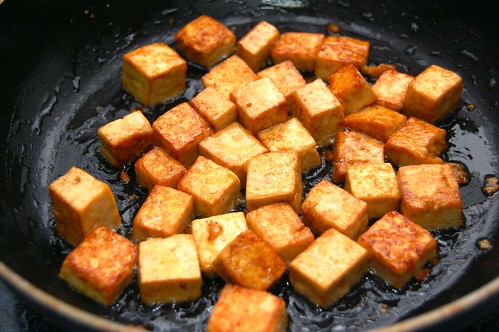
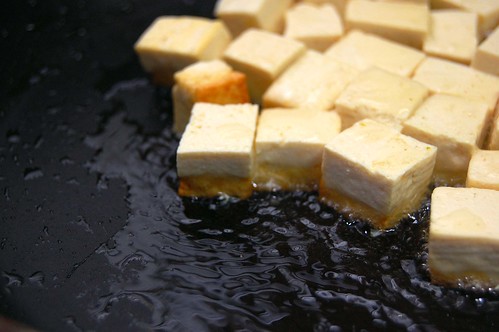
I didn’t talk much about the tofu in the stir fry I posted about earlier this week and another one of its vices: its fragile form. Tofu falls apart really easy, even when working the extra firm kind. This stuff does not take a beating well and the stirring and tossing of making a stir fry will cause it to crumble. (Interesting Fact! Did you know the main difference between soft and firm tofu is simply the amount of water? Now you do!) There are a couple ways (that I know of) to make tofu more resilient, pressing more water out and giving it a quick sear. I decided to revisit this week’s stir fry with a seared tofu and then pressed & seared tofu.

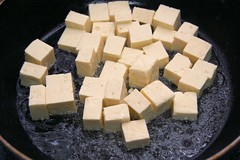
Tofu Browning Tofu Tofu and Tamari

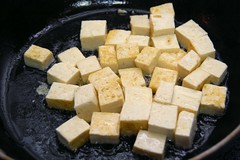
The searing was pretty straight forward. After taking half a block of tofu and cutting it into quarter inch pieces, I threw them in a pan under medium-high heat with a bit of oil. Thanks to the high water content of tofu there was quite a bit of spitting. I let it sit for a bit, checking occasionally for browning on the bottom as a sign that it was becoming a bit more stable, then tossed it with a tablespoon of tamari. I then continued to cook till browned on all sides. Between the tamari and browning, the tofu took on a nice flavor and was much firmer.

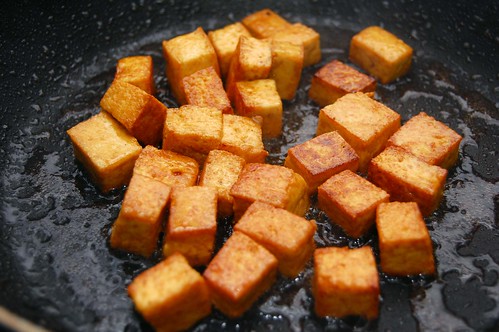
Quicker Browning

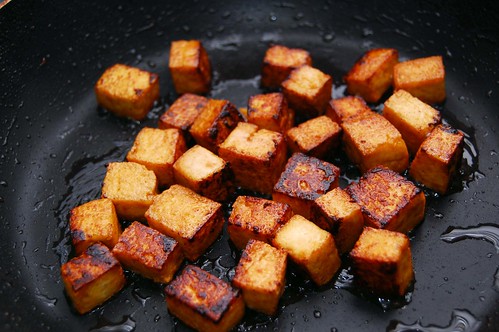
While I was working on the first half of tofu the second half was sitting in a colinder with a mid-size pot full of water resting on top. This was to press water out for about 45 minutes. Then I pretty much did the same thing as above. Still plenty of water for for spitting, but the browning was much quicker and deeper. In fact, I stepped away to wash a few dishes and got some burning very quickly!

Pressed Tofu Browned

Overall, I liked the second method for a stronger structure as well as a more significant taste. Both worked well and I may consider the first method for depending on what ingredients I’m adding it to and where I want it as a dominant ingredient or not.

A Bit Burnt