Did you know this past Sunday was Pi(e) day? Did you know there’s a peanut butter pie? A pie, of peanut butter?!?!?! Madness, you say? Poppycock? You are not alone, friend, for I can assure you that was my initial reaction when a particular young lady informed me of its existence. But low and behold, peanut butter pies do exist and are not some rarity invented by a small tribe living in some far corner of the world; possibly in some near-unapproachable mountains. With peanut butter trees.
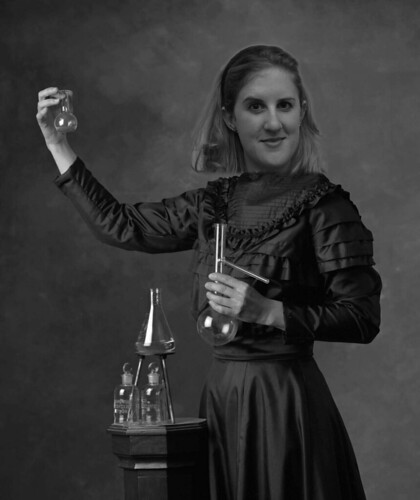
I wasn’t able to find the person credited with the first peanut butter pie but my first mental image, after the Pinatu Mountain Tribe was a 19th century Heather, dressed like Madam Curie with a high necked dress, analyzing peanut butter in test tubes. Best. Job. EVER. Whoever is responsible for its inception, I take my hat off to thee.
Recognizing the awesomeness of peanut butter and pie, this was something I had to do and I did so immediately. I decided to go with an oatmeal crust which worked out well, but turned out a bit harder than I would have liked. Be sure not to over bake your crust when you try this! I wish I had more photos, but I took this to work and it did not last long. Be sure to have a glass of milk handy.
Oatmeal Crust
2 cups oats
1/4 cup brown sugar
1/2 cup powdered sugar
1/2 teaspoon cinnamon
4 tablespoons honey
1 stick butter; cut into four pieces
pinch of salt
Peanut Butter Filling
1 lb peanut butter
3/4 cup powdered sugar
2 tablespoons honey
pinch of salt
Chocolate Glaze
8 oz bittersweet chocolate; roughly chopped
1 stick of butter; cut into four pieces
2 tablespoons cream
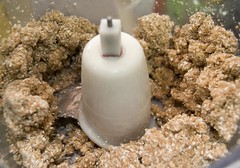
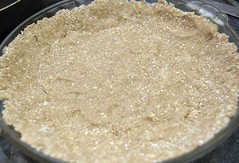
Crust
Preheat your oven to 375° and grease a 9 inch pie pan. Run the oats in a food processor for about 30 seconds, then add your remaining ingredients and pulse until well combined. Evenly distribute your crust into the pie pan and up the sides and bake for 15-20; just until the crust begins to turn golden at the edge. Don’t over bake or you will have a harder, but still delicious, crust. Let cool completely.
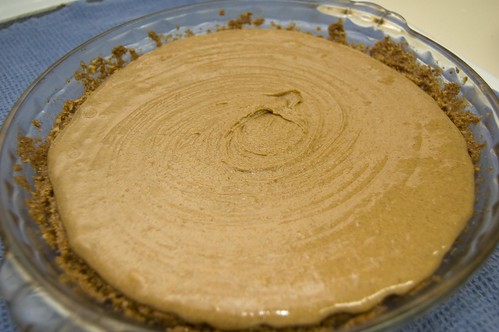
Filling
Mix together all your ingredients and pour/spoon into your pie pan. Bake for an additional 10 minutes.
Glaze
Melt your chocolate and butter via the double boiler method. Once fully melted, remove from heat, add the cream and stir until well combined. Let sit in the fridge for a few minutes to thicken and cool. Pour over your pie and place in the back in the fridge until glaze hardens. Serve and enjoy.